I spent the last week in bed with my second cold of the season. This second time around, or perhaps the rallying of the first, was much worse, and on the fifth day, this uninsured blogger dipped into her stash of expired antibiotics in the hopes that the dark phlegm forces were at least in part bacterial, and two days after that, energy, if not fully clear sinuses or lungs, returned.
I began work on the house again yesterday, hacking away at little jobs and putting together a more comprehensive plan for the completion of the bathrooms, which is our next project milestone. Having just bounced back from my own personal schedule setback, I worked to draw up a thorough and realistic plan and anticipate as many hiccups as possible. And everywhere I look, I see hiccups.
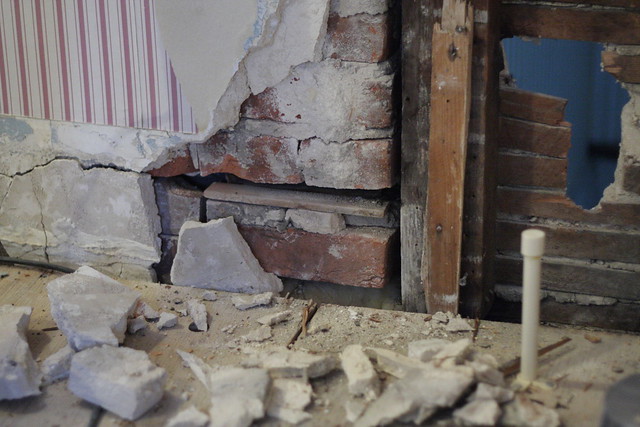
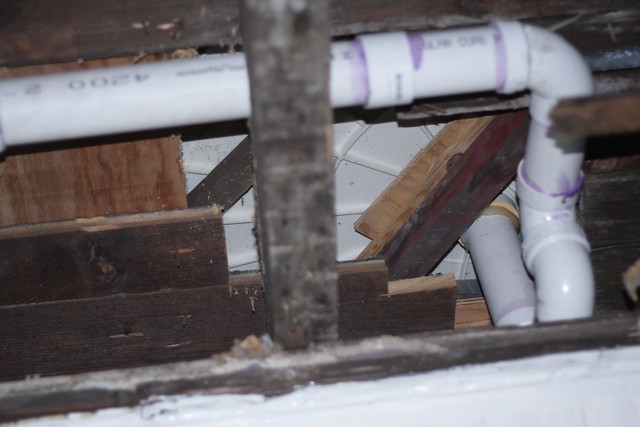
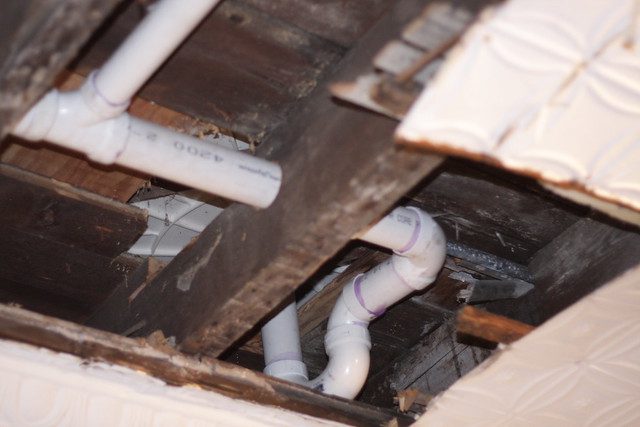
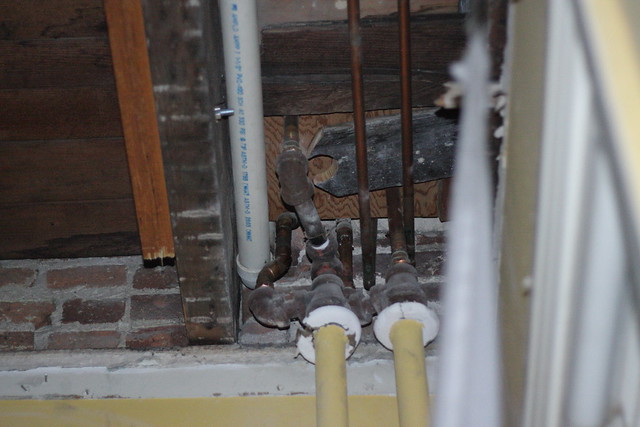
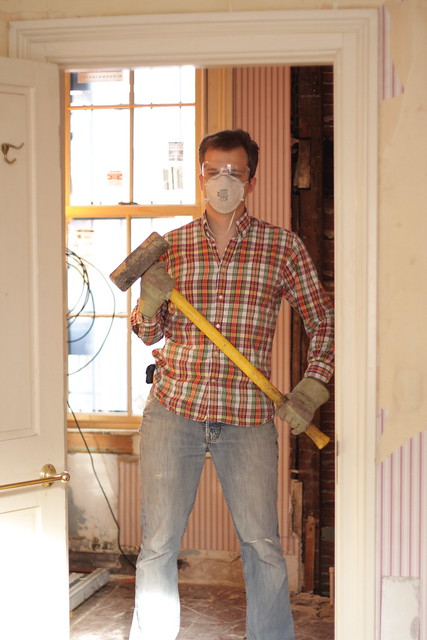
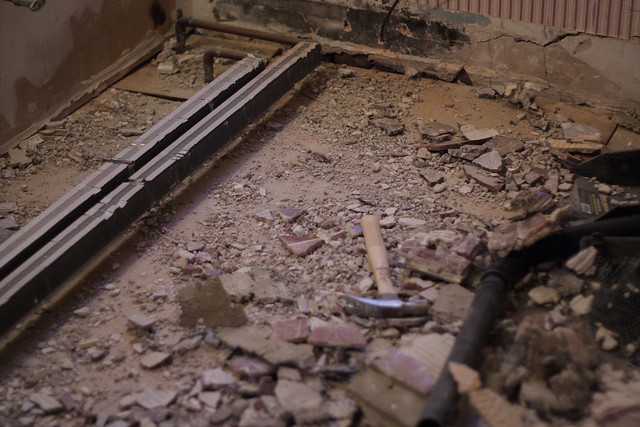
What does a hiccup look like? I'll show you...
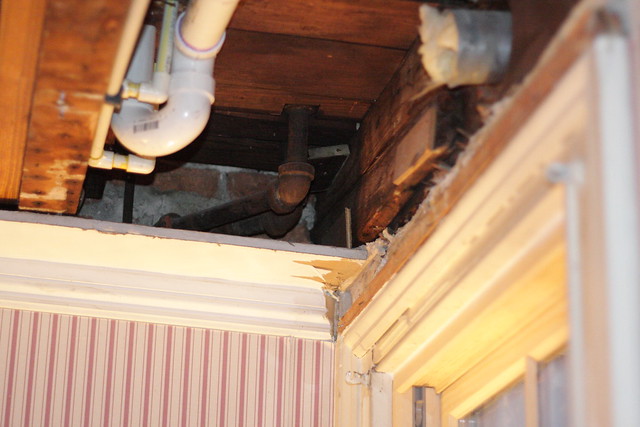
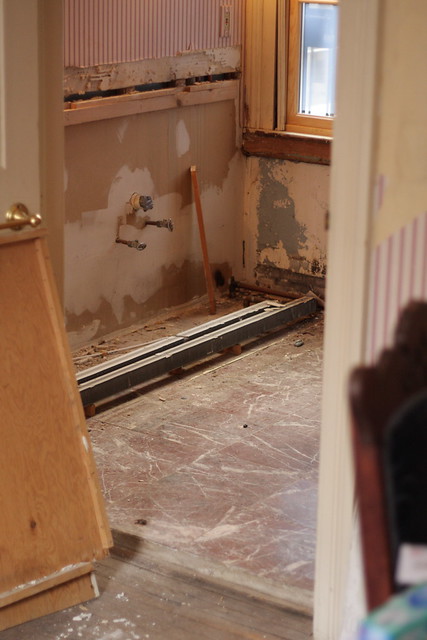
A hiccup looks like a hole in a structural wall, larger than you had previously assumed.
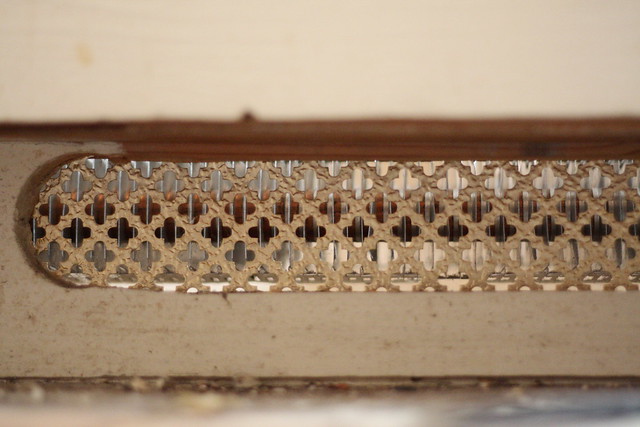
A hiccup looks like a dubiously supported shower pan.
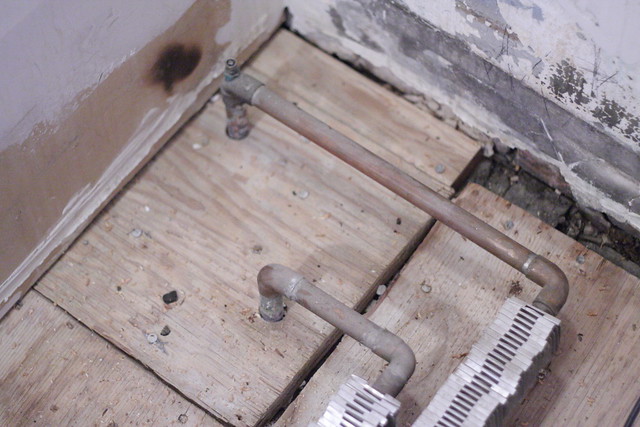
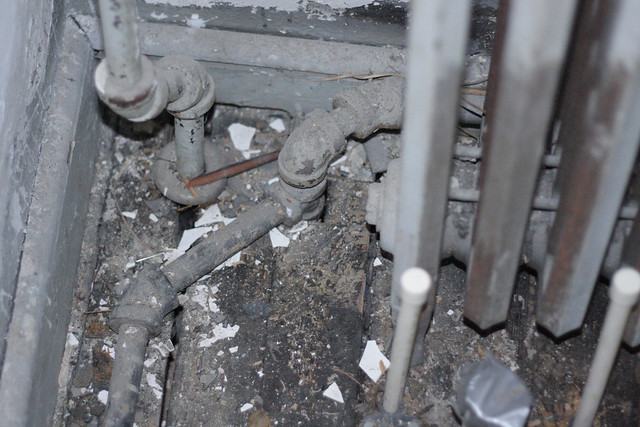
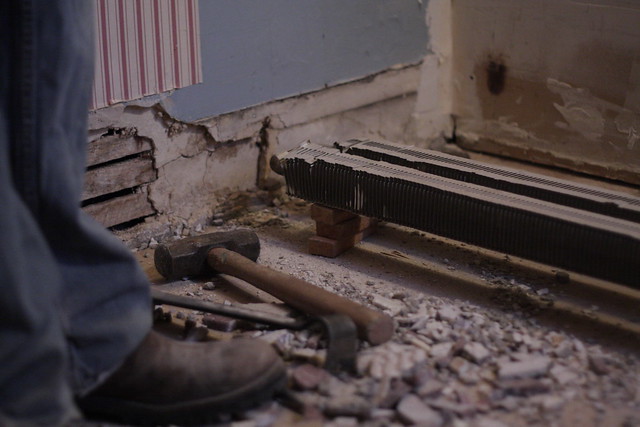
And a hiccup looks like hot water pipes and radiators that we finally have to deal with for real before getting more work done:
Maybe that last one is not so much a hiccup as an as yet avoided inevitable.
I'll write in more detail about each of these three problems and their particulars in soon to follow posts. What to do about the radiators is the first question.
Thanks again to everyone for reading. It's good to be back.
We both slept in today, and we didn't start working on the house until noon. But, in the seven or so hours that we worked, we made some serious progress and learned yet more about our house.
The tasks tackled today were:
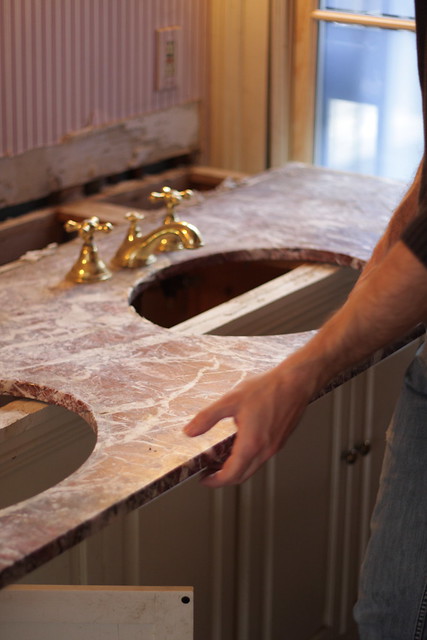
1) Removal of a double-sink vanity with marble top and a marble tiled floor in the master bath
2) Removal of the plastic floor in the top front bathroom.
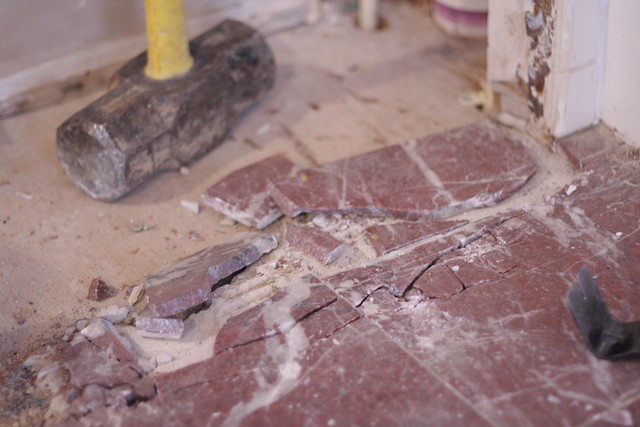
We started with the master bath and a plan to sledgehammer the tile and then bust up the mortar with a hammer drill borrowed from our contractor.
Before we could start on the floor, however, we had to take the vanity out. T&H have wanted to remove this vanity (and the matching floor and all of the faux brass hardware throughout the room) from the day they first saw it blocking the window.
When our plumber replaced all of our supply and waste lines in October, he took out the sinks in this bathroom and disconnected the fixtures. So our first task was removing the marble vanity top. This was surprisingly easy: just pried the backsplash off the wall, and the counter itself was barely connected to anything, glued on its short side to the wall. Carrying it down the stairs was surprisingly difficult. Marble is heavy!
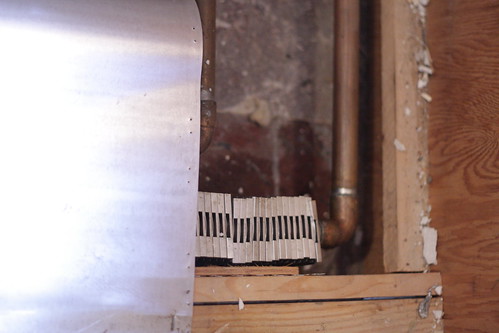
Now, almost every room in this house has a radiator. The two exceptions are the second floor back bathroom and the master bath. Or so we thought.
After removing the marble counter top, we decided to remove the floor of the cabinet, to get a full view of how the cabinet was mounted to the wall. Once we removed that thin layer of wood that was mounted inside the cabinet about six inches above the room's tile floor, we made a surprising discovery.
The radiator is in the vanity. It's so simple.
Upon further inspection, we noticed that the radiator even had special vents in the little kick back at the bottom of the vanity. I don't understand how I never registered these before. I have definitely looked under this cabinet many, many times.
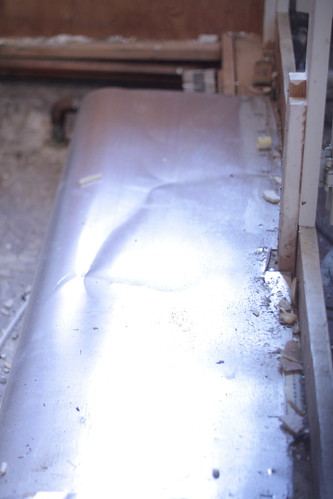
So, we pulled the flashing off the radiator, and we pulled the vanity out and hauled it downstairs. The radiator discovery is going to drive some new design and budget conversations regarding this bathroom. If anyone out there has thoughts on the situation, please do let us know.
The radiator runs basically the full length of the room.
With the vanity gone, it was time to break stuff.
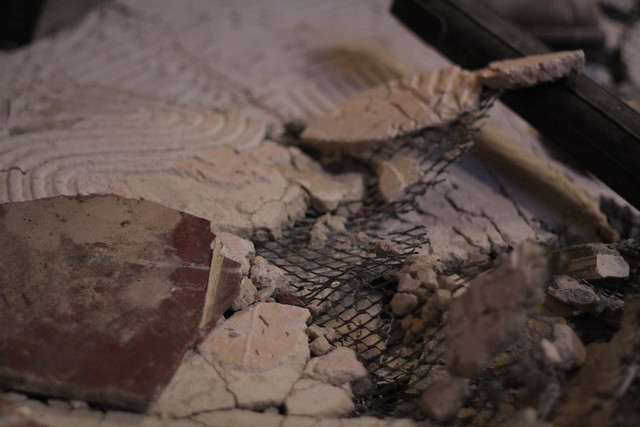
The sledgehammer made fast work of the tile, and we found that below the marble, the mortar was poured on top of a metal mesh lath. So we didn't even need the hammer drill. We just ripped the metal mesh off the floor, and mortar with it, in large swaths.
Working around the radiator was the only difficult part of the operation. Using one's maximum strength while maintaining a level of precision just fine enough that you don't end up with a hot, sludge-spewing copper pipe and out of commission boiler is exhausting.
We were so happy when we'd finished!
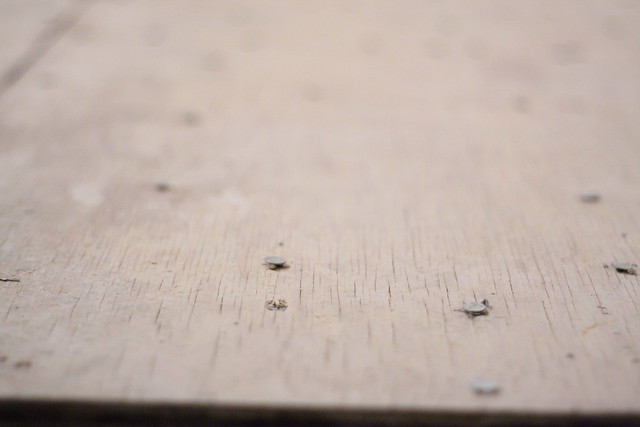
The only thing left to take care of are the nails, spaced about every 5 inches, that anchored the metal lath to the floor.
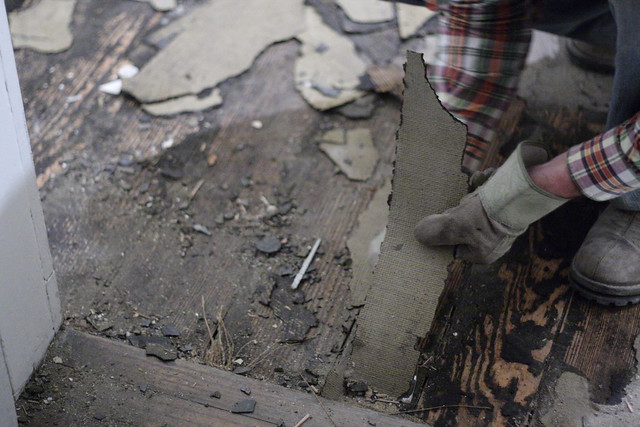
Moving along on our list, we climbed upstairs to scrape the plastic floor off the floorboards. Unlike the first of these floors that I removed a few months ago, we did not find hardwood beneath, just rough floorboards. Also unlike that first room, this job went quickly. I don't think either of us is suffering from scraping-induced tendinitis tonight. The adhesive had stopped adhering in most areas of the floor long before we got down on our hands and knees with scrapers today.
All of the plastic floors in this house do have several things in common, if not including their stick-to-it-iveness. The plastic is glued directly to burlap; the burlap is glued to a thick paper, and the paper is glued to a wood floor.
There's still quite a bit of work left to do on these floors before the word finished can be satisfyingly used, but we're getting there. And we have a first floor filled with full trash bags to boot.