Wednesday, December 29, 2010

Basement Laundry, Part VI: The Plan

Now that I've written a handful of posts detailing some of the parts of the Laundry Room, I figure it might be helpful to zoom out and take a look at the sum of all parts.

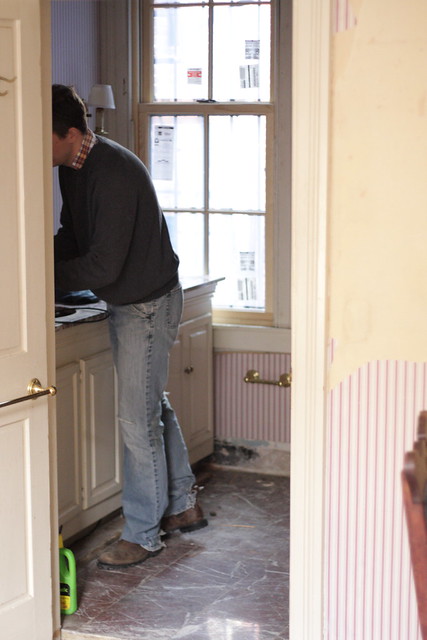
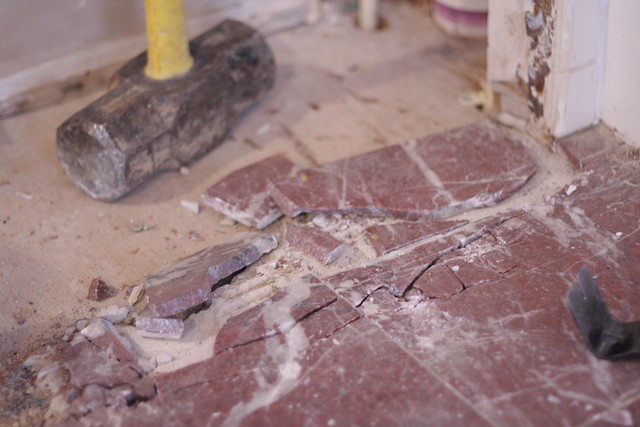
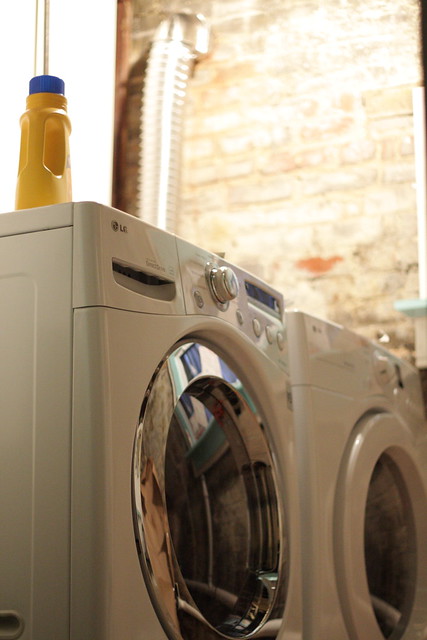
For those who haven't read the other posts, and as a reminder to those who have, our laundry room is in the basement of the house, just west of the back stair.


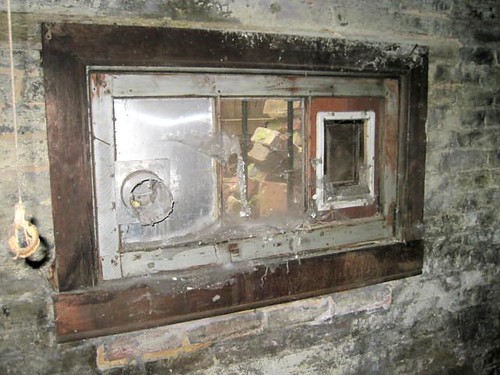
The drawing above is meant to show the as-built conditions of the basement, and it is generally accurate. But some things in the drawing are generalized. For instance, the area labeled "BOILER" is home to more than just a boiler, and the area marked "LAUNDRY" is actually only the location of the dryer.

So, let's zoom in on the laundry area for a more accurate view of how the space was programmed and where the utilties were located, when T&H first bought this house.


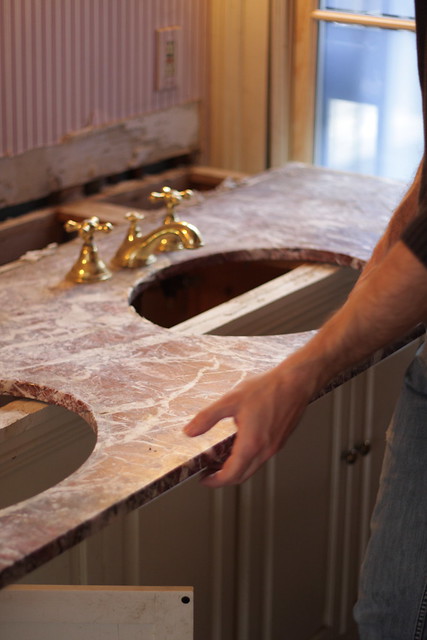
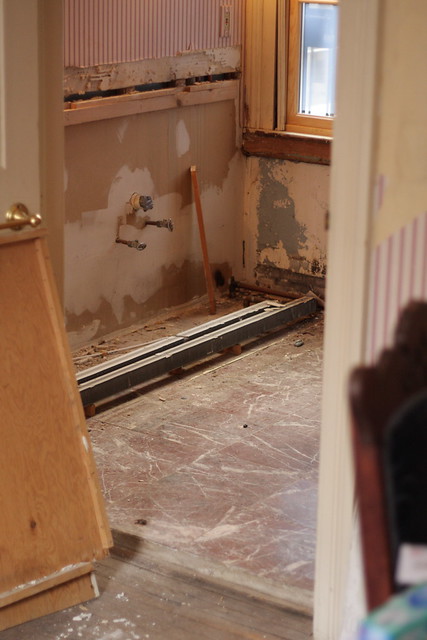
As you can hopefully make out from that lovely photoshopped drawing above, the washing machine was not even inside the laundry room. There is a sink next to the washer, and the washing machine water supply hookups were retrofitted to the sink fixture.

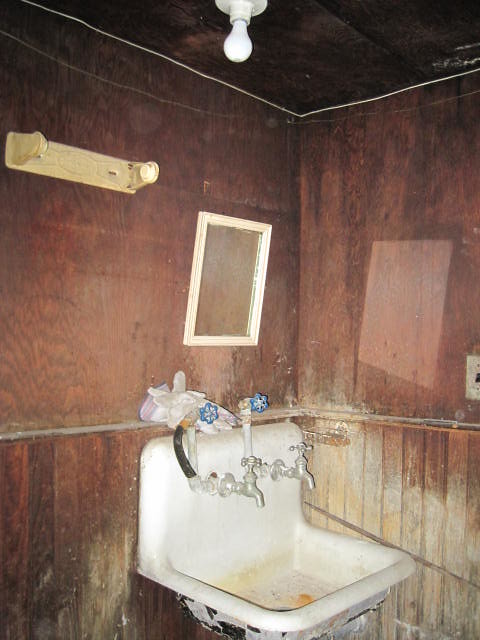
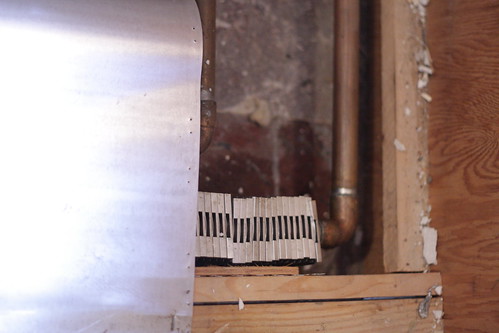
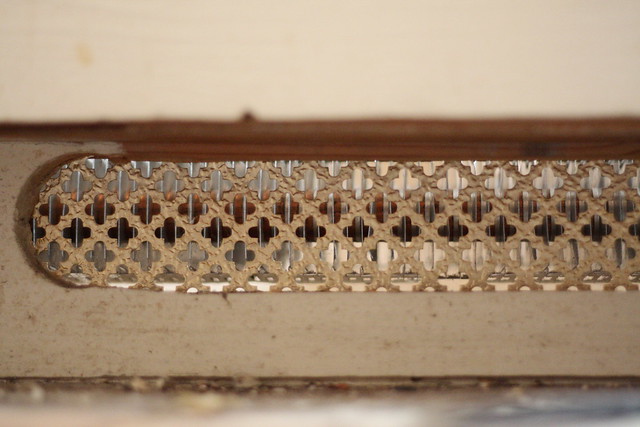
Check out the soap deposits on that wainscoting.
The plan for the new laundry room, in addition to just cleaning and scrubbing and slapping a few coats of paint on the place, is to demolish the shower, move the sink inside the room, move the dryer vent from the window to the wall, replace the window, repair the brick wall (a task with many, many sub-tasks), and install working laundry machines.


One thing to note, the washer and dryer squares in these drawings are purely graphical; they are not to scale. The washer and dryer that were in the house when T&H bought it were undersized and similar to what is drawn here. T&H bought full size machines, and they are a bit tight in the space.

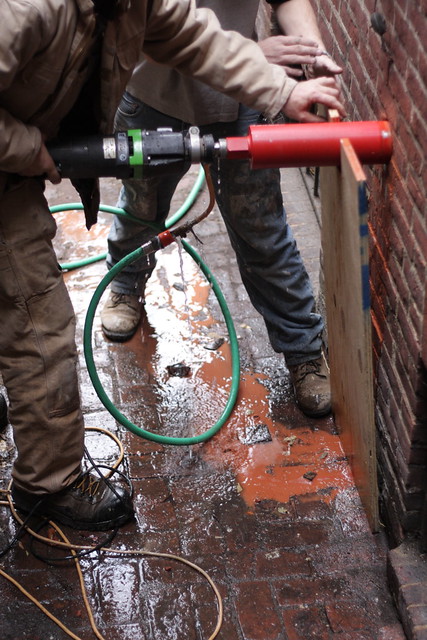
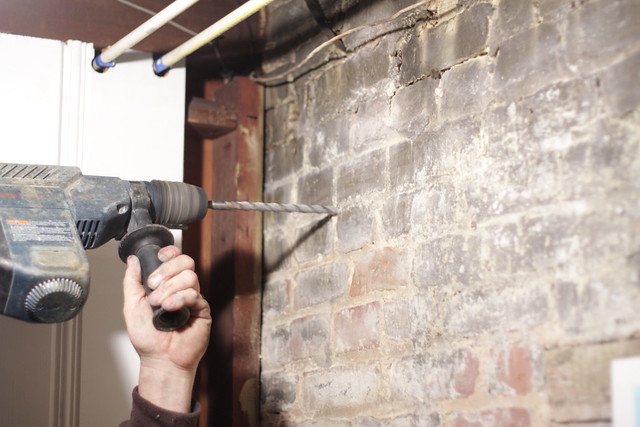
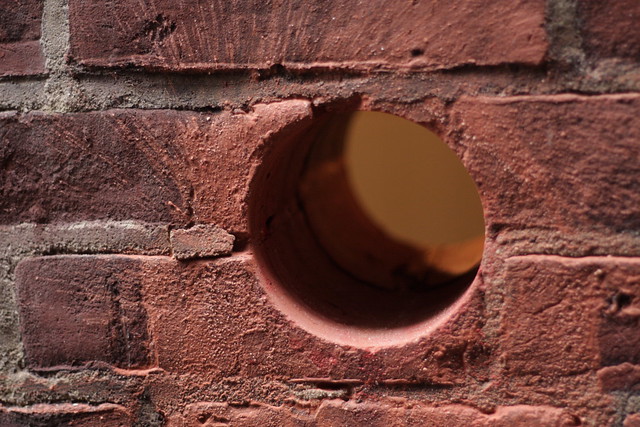
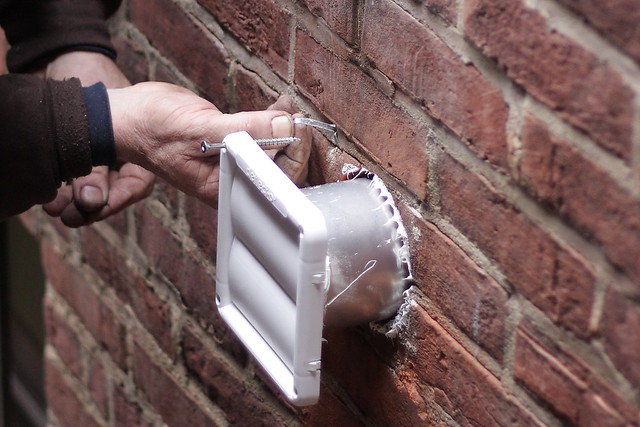
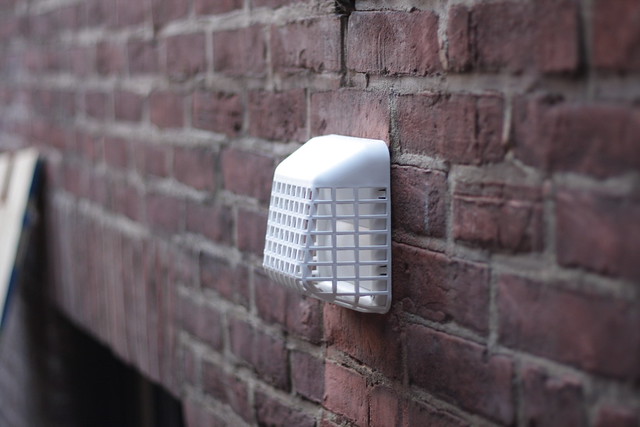
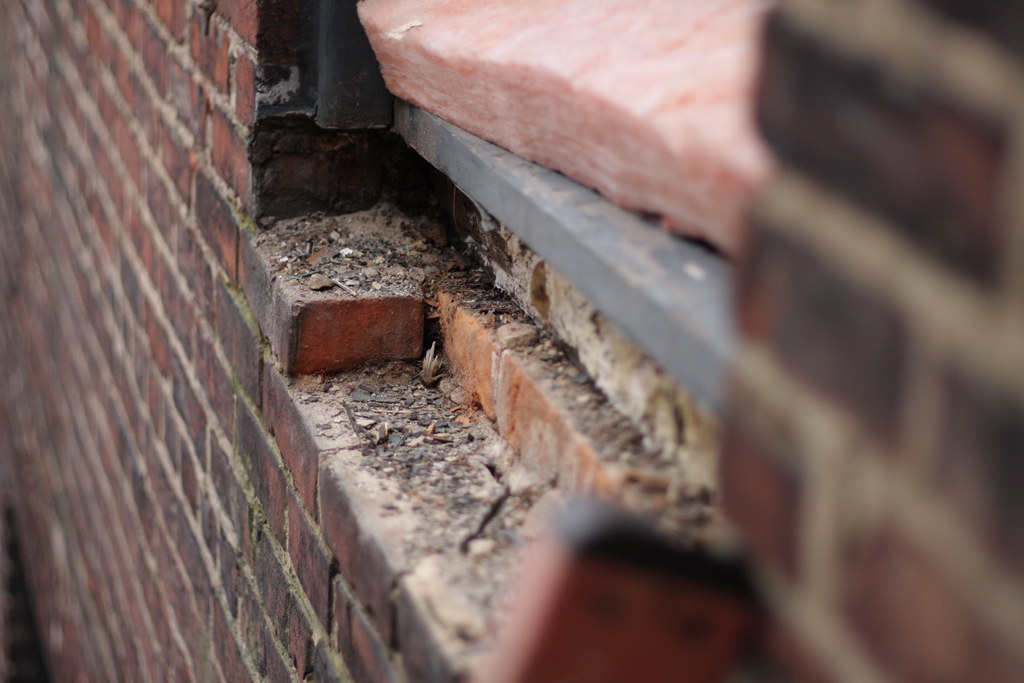
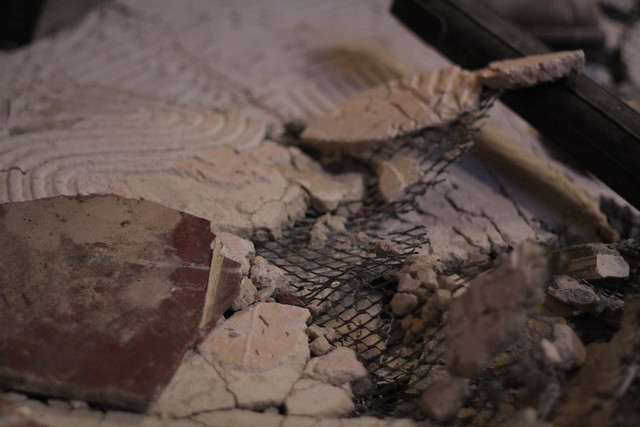
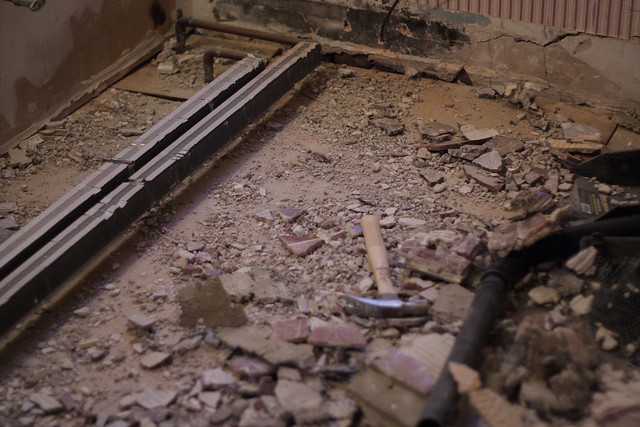
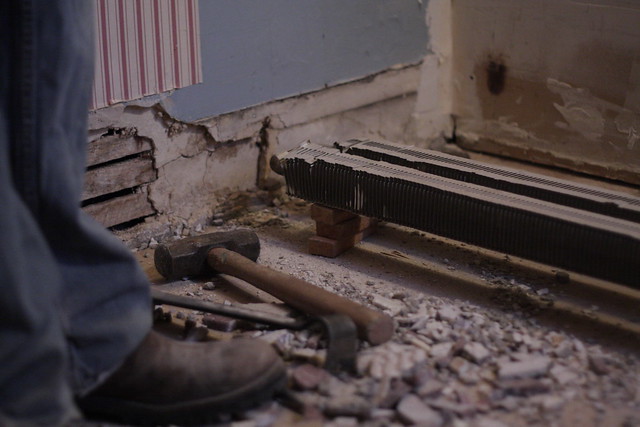
The only tasks we have left in this room are to fix the brick wall, add some trim, finish painting, move the electrical, and install the sink. Even then, this will be a roughly finished room, no bells or whistles or smooth surfaces, so there will always be room for improvement. Like adding a door!


I wish I knew all of the people who have lived in this house. I suppose I could and should look up the public records someday, for curiosity's sake at the very least. But it would be nice to be able to talk to them and learn about the way this house was lived in and the way lives changed and how the house changed with them.

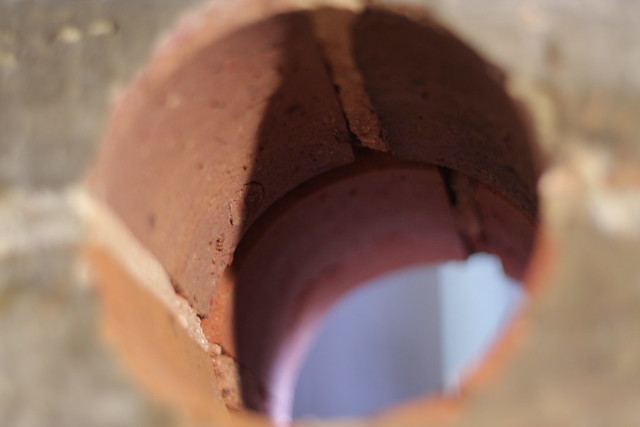
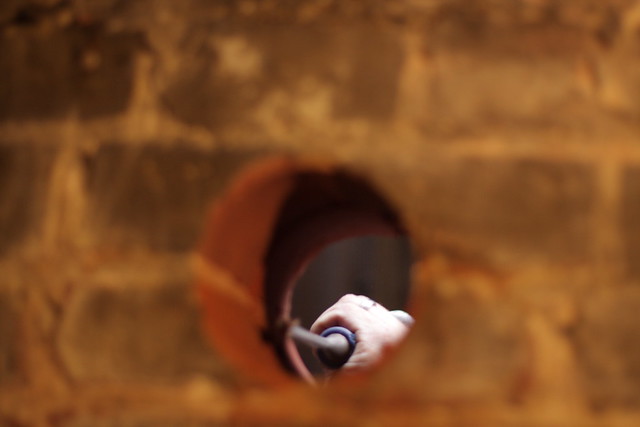
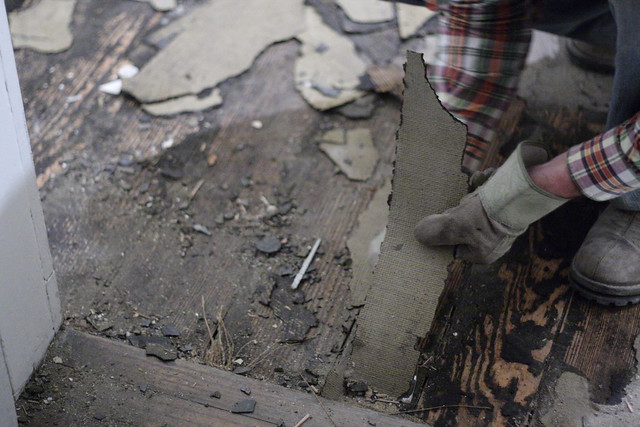
It is pretty evident that this room was not originally designated for laundry machines. But the waste connection for the sink and toilet (and once for the shower) are all encased in the basement's concrete floor. When did the basement get a concrete floor? When was the cast iron sewer line put in?

If the room was built as a bathroom, why the extra space to the west of the doorway? Just a place to change one's clothes? Was this once a tiny, unheated bedroom that was converted to a bathroom when the front waste stack was installed for the house?

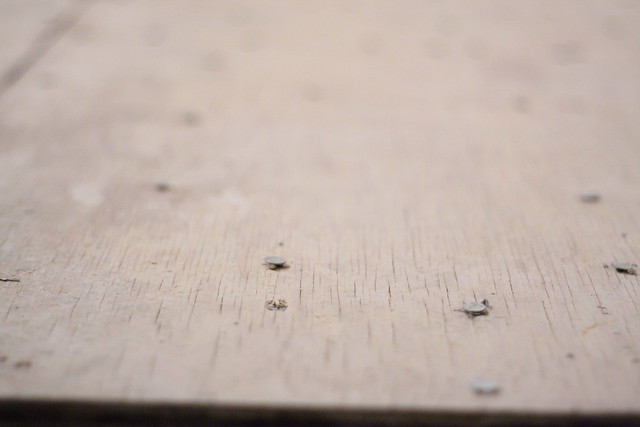
My best guess right now is that this was originally built as a bathroom, and it was put in at the same time as the basement floor, some time in the first half of the twentieth century. (I know, I'm really pinpointing it there.) About a third of the nails used in the walls are old-style, unbending, iron nails and the other two-thirds are newer, but I don't know enough about nails to guess at a decade. Yet.

Of course these questions lead to larger questions of when were the different portions of this house built? Was it built in stages? Many people on our block talk about these homes and speculate when different portions of the houses were added on. Right now, I'm not convinced that any part of our house, any part that's still standing anyhow, was an addition. There are no interior brick walls that once marked the end of the house. There aren't, yet discovered, any traces of such walls, either. The foundation walls seem uniform, the symmetry to adjacent homes, intentional.

We will keep digging to find clues to the answers to these questions, and in the meantime, we'll be washing our clothes in the luxury of our own home.

(One of these days I'll get a wider angle lens. Or this baby.)

Monday, December 27, 2010

Basement Laundry, Part V: Dryer Exhaust

We've had a long Christmas break and done little to the house since Thursday. In that time we did get a lot of cooking and eating done, and unpacking of boxes (mostly kitchen related), and fixing of Kitchenaid, and talking with relatives far away.

We had planned to be with family in North Carolina today, but snow prevented our travel, so, here in Baltimore, I very slowly returned to working on the house.

I miss our contractor. His name is Gerry and he has an assistant named Kyle. Almost every day, for the two weeks before Christmas, they were at our house burning through To Do lists with work in nearly every room.

One of those rooms was the laundry room, and the item on the To Do list was Cut Hole in Brick Wall for Dryer Vent.


Behold the window in the laundry room as it looked when T&H first bought the house. In addition to being a pleasant home for many a spider, the window features a lovely stray cat entrance to the right and a convenient dryer vent to the left.

Had it not been for Gerry, the whole idea of re-routing our dry vent would have completely flown under our radar. With the thousands of individual tasks that need to be completed in this house, coupled with the fact that none of us have ever owned a house or a dryer before, I'm sure that our solution to this little problem would have been to install a newer, shinier, water-tight, cat-door-less version of the system shown above.

But when I was talking with Gerry a few months ago, and we were going over some of the plans for the rehabilitation of the house, he was listing out all of the tasks for the laundry room: ripping out shower, removing panelling, adding water lines, reinstalling panelling, cleaning brick, hanging sink, moving electrical, installing new window, cutting hole in the brick for a proper dryer vent....

It just rolled off the list like it was the obvious and easy thing to do.

And to anyone out there who is going, "Well, duh," but who also hasn't actually rented and wielded a hand-held diamond core drill with a 4" bit and cut through 8 inches of questionably mortared structural brick wall... well, I guess you're still right, but you gotta see this thing in action:


I am really glad that Gerry and Kyle were here to do this. For them, it was simple and obvious, and it was something that they already knew how to do. I think that if we ever need another hole cut in our wall, I would not be terrified to do it myself, but only because I have had the opportunity to watch and learn from these professionals.

It was so cool! And so quick, easy, and clean!

First, Gerry drilled a small hole through the wall from the inside, to mark the coring location on the outside of the wall.


He positioned the hole high on the wall so that the vent would be easier to access for cleaning, both from the inside and outside of the house.

He cut plywood for a jig to hold the core drill in place while beginning the cut, and he angled the corer slightly upward, as it cut into the house, so that if water were ever to get into the vent, it would drain out of the house, not in.

After Gerry started the cut, Kyle went inside to wet vac any slurry that might come through the wall. I ran inside to take pics.


Much nicer than taking a chunk out of our window space!

Outside
Inside
All that was left to do was the installation of the vent itself. The duct is 4" in diameter, like this hole, but the connection between the duct and the vent face is a little wider, so Kyle chiseled the edge of the hole to accomodate.


The vent and duct then got inserted, and the vent fastened to brick wall with screws and sealed with caulk. I mentioned before that the mortar in this wall is questionable, and though Gerry was able to cut a beautiful clean hole straight through, when fastening the vent to the brick, one of the screws met with a soft spot in the mortar.

And I got to learn a new trick! In order to get the screw to bite in a hole that was now a bit too large, Gerry inserted a couple strips of metal into the hole, much like you might with toothpicks into a hole in wood where a hinge has ripped out and you want to put the same screws back in the same place.


And voila! We now have a beautifully finished dryer vent, hockey masked to discourage vermin. A huge improvement.


Our budget for professionals is running out, so we probably won't be able to work with Gerry again until spring, when the weather is warmer and we'll have a whole new list of tasks that we'll need help and guidance with. For now, I'd better get back to work and on to the rest of the laundry room.

Thursday, December 23, 2010

Following the Photography

Dear everyone,

I'd like to call your attention to the right hand side of this blog. Down below the landfill counter and the list of followers and the list of blog posts, you'll find Recent Pictures.

I am taking lots of photos of the house as our work progresses, and everyday I upload more photographs to my flickr.com account. In the side bar there, the ten most recent images will be displayed, and if you click on "View All", you will be forwarded to my flickr set of all of the house pictures that I've taken since starting the blog.

I take more pictures than I blog about, so if you're interested in seeing additional carnage, that's the place to go.

Thanks again for reading!


Wednesday, December 22, 2010

The Replacements: Kitchen Windows

I have come down with a terrible cold. You know, the kind where your head and chest are just kind of full of pressure and pain, and the world is really cold, fuzzy, and tilted. I began this post yesterday, and woke up this morning, laptop atop lap, with a fittingly sickly blue glow shining across me. I've become very skilled at falling asleep at my computer.

Anyway, back to the healing of the house:

Our kitchen windows were a mess. We knew one was fixed in place and the other had one of the sashes painted shut. We also knew that the whole wall's interior face was crumbling, water-damaged plaster.


Pictured above is the over-the-sink kitchen window. To remove the existing sash, our contractor had to take an angle grinder to the iron work.


I don't have any photographs of the actual sash removal because I was actively helping at that time, but let me tell ya, it was something. The whole thing fell apart. Our contractor grabbed one of the wooden windowpane dividers, pulled, and it came off in his hand. So he dismantled the sash piece by piece and pane by pane.

This particular window was once a door, but somewhere along the line, most likely when the kitchen was moved out of the basement and into this room, they bricked up the opening to about two thirds the way up, put a brick sill on top of that, and installed a window.

Before going into what parts were rotting where, I think it's time to post a borrowed drawing labeling the parts of a double hung window. This drawing does not exactly match our windows, but for the intent and purpose of talking about the rotting parts, I reckon it's good enough.


In the window above the kitchen sink, the wooden sill had completely rotted, so our contractor removed the sill and replaced it with new, treated wood. The interior sill, or stool, was warped but not at all rotted.

Below the new window, the new wood sill.
Once the sill was replaced, the new window could go in.


The other window in the kitchen had a healthy,wooden sub-sill, but the sill and stool had completely rotted, and the bottom framing member of the window was just kinda sittin' there on the brick, not attached to the sides of the window frames.


Sill and stool removed, measuring to replace sill.
You may be able to notice in the above picture that the plaster on this wall has been water damaged to the point of completely crumbling off the bottom window framing member.

The general plan for this room, given all the water damage, is to expose the brick, repair it, and then water seal it and leave it exposed.

For now, our contractor has replaced the sill, and in doing so, connected the side and bottom window framing members.


There is still some interior trim work to be done, but we now have all of the windows, except the Gnome Room windows, installed.


We have decided to hold off the Gnome Room windows until spring. Their entire frames are loose inside the brick, and they may need to have their frames completely rebuilt, and if that is the case, we'd rather the weather be warm for it.


Tuesday, December 21, 2010

The Replacements: Days Two, Three and Four

So much has happened in the last three business days!

Our contractor has installed 12 of the 16 windows that we ordered from Andersen.


All of the windows replaced since my last window post were double hung windows. Most of them are still double hung windows. The exceptions are those narrow windows in the second step back of the north wall. Those windows are now picture windows (that is, they do not open). Andersen does not make 14" wide double hung windows. In fact, a local company, Walbrook Mill and Lumber, was the only manufacturer we could find who would make a double hung window that narrow. Unfortunately, their quote didn't fit our budget. So we went with Andersen, and hope that these little pictures won't negatively affect our excellent cross ventilation too much.


Installation has been a rocky road these last three days. Thursday it snowed, but our contractor still managed to install three, second-floor windows before the weather completely shut down his operation.


Those three windows were fast going, under two hours of work each, and at that pace, barring further acts of gods, this chapter in our story would have been finished at the time of my writing this post.

But paces change and gods act and, as mentioned before, we have yet to install all that we have to install.

Water is mostly to blame, and neglect, a recurring theme. It's like water and neglect got hitched and went on a decades-long crime spree through this house.


Sometimes they brought in extra muscle, like that psycho weed tree growing out of a second floor window, busting through the sill and taking out whole courses of brick.


That first picture shows the view of a tree growing out of an exterior window sill, as viewed from inside the house. In the next picture, the tree, sub-sill, and first course of brick, have been romoved. Let's zoom in.


Do you see the tree root poking its head up, right in the corner of where brick once was? That root, at that spot is a half inch in diameter. Terrifying.

I ran downstairs and grabbed the herbicide to douse the root while the cut was fresh, and our contractor rebuilt a temporary sill to protect the house and install the window. In the spring, when the weather warms to mortar setting temperatures, we will revisit this spot.

Oh, and that white stuff on the revealed window frame is mold. Another of water and neglect's co-conspirators.

And so window frames were mended, as their problems were discovered, and window installation continued at a slower pace.


Tomorrow, I'll write all about the kitchen and gnome room windows. They got hit the worst and will require the most repair.

Sunday, December 19, 2010

Sunday Challenge Question!

You are a thirty-something, first time homeowner. You are able-bodied and have access to a wide variety of tools.

You walk into your home and up the winding stairs to the third floor. You take off your shoes as you enter the back bedroom which you have designated as your temporary living space. You walk across the room and enter the kitchenette. You open your 9.6 cu ft refrigerator and gaze idly at its contents. You close the door and wander to the east window to gaze idly out.


You are suddenly alert. There is something in the tree.


There is a discarded piece of pretty wooden porch, a porch demolished before you bought the house, entangled in the tree. You run downstairs to the first floor, out the side door of the house, and into the backyard.


'Why did they just leave it there?' you think to yourself. 'How have I not noticed this before? That must be twenty feet in the air. How have the recent wind storms not dislodged it? How on earth am I going to get that down from...' Your pondering stops silent as an excellent solution appears in your mind.

'Crazy,' you say aloud, 'but it just might work.'

What is your solution?

(We don't have one yet.)

Bathroom Floors: Demolition Day

Toby and I are exhausted.


We both slept in today, and we didn't start working on the house until noon. But, in the seven or so hours that we worked, we made some serious progress and learned yet more about our house. The tasks tackled today were:

1) Removal of a double-sink vanity with marble top and a marble tiled floor in the master bath


2) Removal of the plastic floor in the top front bathroom.


We started with the master bath and a plan to sledgehammer the tile and then bust up the mortar with a hammer drill borrowed from our contractor.


Before we could start on the floor, however, we had to take the vanity out. T&H have wanted to remove this vanity (and the matching floor and all of the faux brass hardware throughout the room) from the day they first saw it blocking the window.

When our plumber replaced all of our supply and waste lines in October, he took out the sinks in this bathroom and disconnected the fixtures. So our first task was removing the marble vanity top. This was surprisingly easy: just pried the backsplash off the wall, and the counter itself was barely connected to anything, glued on its short side to the wall. Carrying it down the stairs was surprisingly difficult. Marble is heavy!


Now, almost every room in this house has a radiator. The two exceptions are the second floor back bathroom and the master bath. Or so we thought.

After removing the marble counter top, we decided to remove the floor of the cabinet, to get a full view of how the cabinet was mounted to the wall. Once we removed that thin layer of wood that was mounted inside the cabinet about six inches above the room's tile floor, we made a surprising discovery.


The radiator is in the vanity. It's so simple.


Upon further inspection, we noticed that the radiator even had special vents in the little kick  back at the bottom of the vanity. I don't understand how I never registered these before. I have definitely looked under this cabinet many, many times.


So, we pulled the flashing off the radiator, and we pulled the vanity out and hauled it downstairs. The radiator discovery is going to drive some new design and budget conversations regarding this bathroom. If anyone out there has thoughts on the situation, please do let us know.

The radiator runs basically the full length of the room.

With the vanity gone, it was time to break stuff.


The sledgehammer made fast work of the tile, and we found that below the marble, the mortar was poured on top of a metal mesh lath. So we didn't even need the hammer drill. We just ripped the metal mesh off the floor, and mortar with it, in large swaths.


Working around the radiator was the only difficult part of the operation. Using one's maximum strength while maintaining a level of precision just fine enough that you don't end up with a hot, sludge-spewing copper pipe and out of commission boiler is exhausting.

We were so happy when we'd finished!


The only thing left to take care of are the nails, spaced about every 5 inches, that anchored the metal lath to the floor.


Moving along on our list, we climbed upstairs to scrape the plastic floor off the floorboards. Unlike the first of these floors that I removed a few months ago, we did not find hardwood beneath, just rough floorboards. Also unlike that first room, this job went quickly. I don't think either of us is suffering from scraping-induced tendinitis tonight. The adhesive had stopped adhering in most areas of the floor long before we got down on our hands and knees with scrapers today.


All of the plastic floors in this house do have several things in common, if not including their stick-to-it-iveness. The plastic is glued directly to burlap; the burlap is glued to a thick paper, and the paper is glued to a wood floor.


Oh, and they're full of dirt.

There's still quite a bit of work left to do on these floors before the word finished can be satisfyingly used, but we're getting there. And we have a first floor filled with full trash bags to boot.