
Anyway, back to the healing of the house:
Our kitchen windows were a mess. We knew one was fixed in place and the other had one of the sashes painted shut. We also knew that the whole wall's interior face was crumbling, water-damaged plaster.

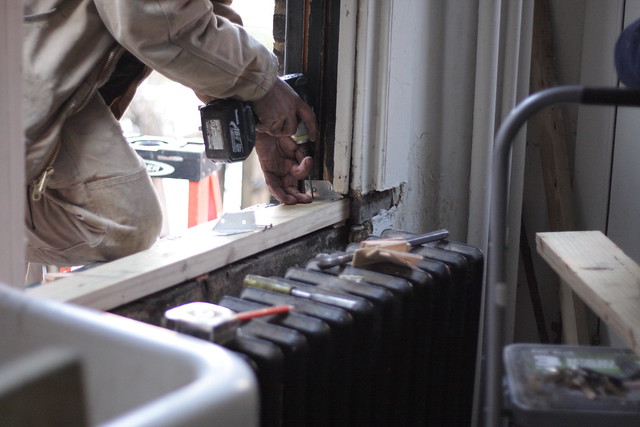
Pictured above is the over-the-sink kitchen window. To remove the existing sash, our contractor had to take an angle grinder to the iron work.
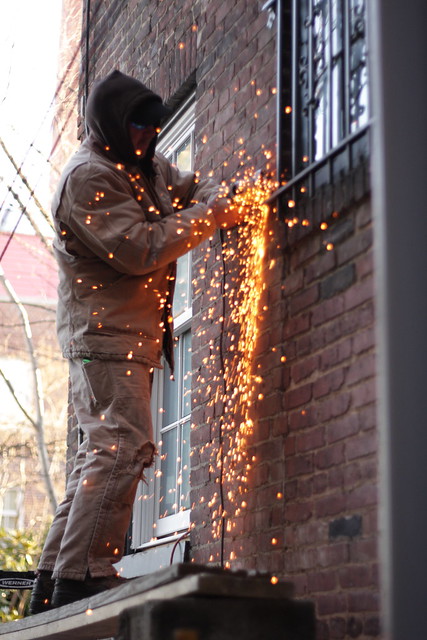
I don't have any photographs of the actual sash removal because I was actively helping at that time, but let me tell ya, it was something. The whole thing fell apart. Our contractor grabbed one of the wooden windowpane dividers, pulled, and it came off in his hand. So he dismantled the sash piece by piece and pane by pane.
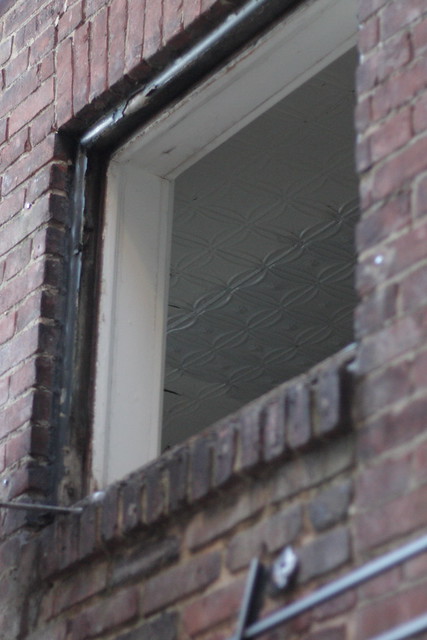
This particular window was once a door, but somewhere along the line, most likely when the kitchen was moved out of the basement and into this room, they bricked up the opening to about two thirds the way up, put a brick sill on top of that, and installed a window.
Before going into what parts were rotting where, I think it's time to post a borrowed drawing labeling the parts of a double hung window. This drawing does not exactly match our windows, but for the intent and purpose of talking about the rotting parts, I reckon it's good enough.

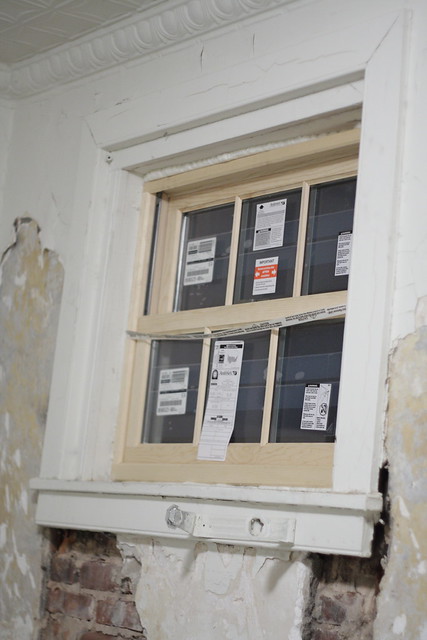
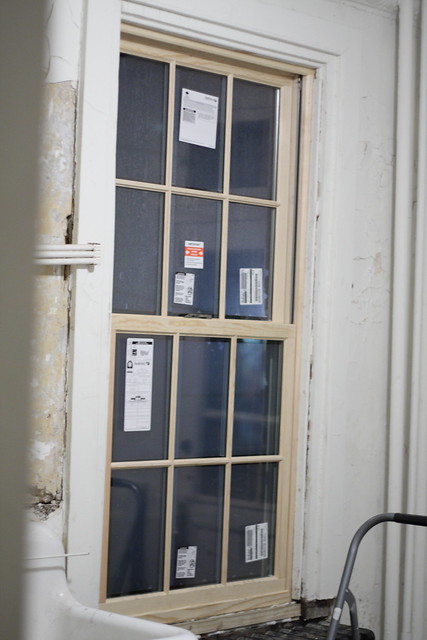
In the window above the kitchen sink, the wooden sill had completely rotted, so our contractor removed the sill and replaced it with new, treated wood. The interior sill, or stool, was warped but not at all rotted.
 |
| Below the new window, the new wood sill. |
The other window in the kitchen had a healthy,wooden sub-sill, but the sill and stool had completely rotted, and the bottom framing member of the window was just kinda sittin' there on the brick, not attached to the sides of the window frames.
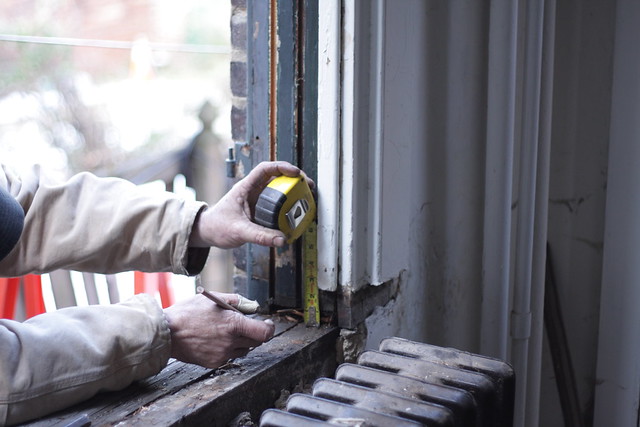 |
| Sill and stool removed, measuring to replace sill. |
The general plan for this room, given all the water damage, is to expose the brick, repair it, and then water seal it and leave it exposed.
For now, our contractor has replaced the sill, and in doing so, connected the side and bottom window framing members.
There is still some interior trim work to be done, but we now have all of the windows, except the Gnome Room windows, installed.
We have decided to hold off the Gnome Room windows until spring. Their entire frames are loose inside the brick, and they may need to have their frames completely rebuilt, and if that is the case, we'd rather the weather be warm for it.
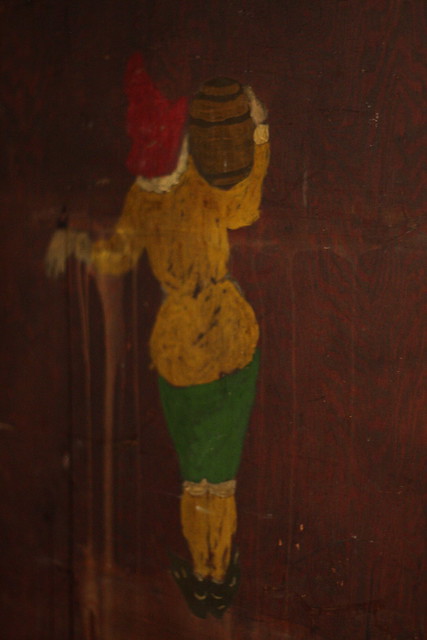
I like the sexy pose the gnome is in.
ReplyDeleteYou know, we have a little something like this in our condo in St. Louis that we will have the pleasure of returning to this summer. A room with plaster that has been showing new water damage over, and over, and over for at least the seven years we have owned it. Our contractors keep sealing the outside to no avail. Expose the brick, repair it, and then water seal it and leave it exposed. That's a page we should take out of your book. Ian
ReplyDeleteIt’ really awesome...Thanks for Sharing!!!
ReplyDeleteUniversal Windows Las Vegas
Sliding Windows
Entry Doors
Nice blog and absolutely outstanding. You can do something much better but i still say this perfect.Keep trying for the best.
ReplyDeleteΣίτες