
We had planned to be with family in North Carolina today, but snow prevented our travel, so, here in Baltimore, I very slowly returned to working on the house.
I miss our contractor. His name is Gerry and he has an assistant named Kyle. Almost every day, for the two weeks before Christmas, they were at our house burning through To Do lists with work in nearly every room.
One of those rooms was the laundry room, and the item on the To Do list was Cut Hole in Brick Wall for Dryer Vent.
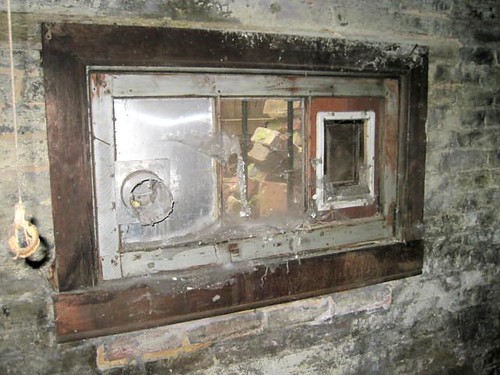
Behold the window in the laundry room as it looked when T&H first bought the house. In addition to being a pleasant home for many a spider, the window features a lovely stray cat entrance to the right and a convenient dryer vent to the left.
Had it not been for Gerry, the whole idea of re-routing our dry vent would have completely flown under our radar. With the thousands of individual tasks that need to be completed in this house, coupled with the fact that none of us have ever owned a house or a dryer before, I'm sure that our solution to this little problem would have been to install a newer, shinier, water-tight, cat-door-less version of the system shown above.
But when I was talking with Gerry a few months ago, and we were going over some of the plans for the rehabilitation of the house, he was listing out all of the tasks for the laundry room: ripping out shower, removing panelling, adding water lines, reinstalling panelling, cleaning brick, hanging sink, moving electrical, installing new window, cutting hole in the brick for a proper dryer vent....
It just rolled off the list like it was the obvious and easy thing to do.
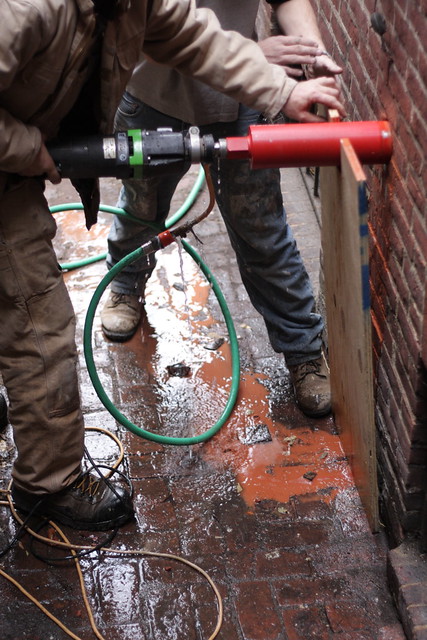
And to anyone out there who is going, "Well, duh," but who also hasn't actually rented and wielded a hand-held diamond core drill with a 4" bit and cut through 8 inches of questionably mortared structural brick wall... well, I guess you're still right, but you gotta see this thing in action:
I am really glad that Gerry and Kyle were here to do this. For them, it was simple and obvious, and it was something that they already knew how to do. I think that if we ever need another hole cut in our wall, I would not be terrified to do it myself, but only because I have had the opportunity to watch and learn from these professionals.
It was so cool! And so quick, easy, and clean!
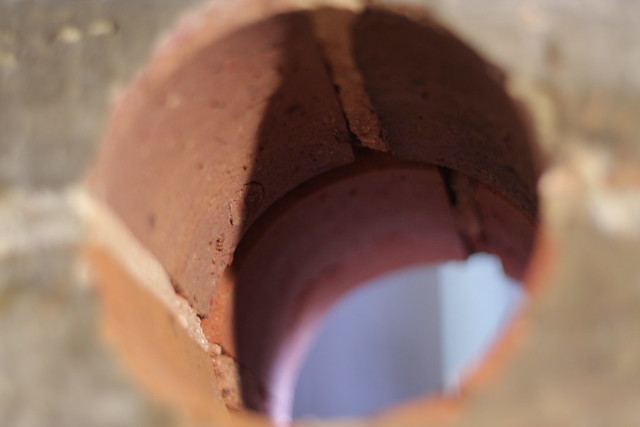
First, Gerry drilled a small hole through the wall from the inside, to mark the coring location on the outside of the wall.
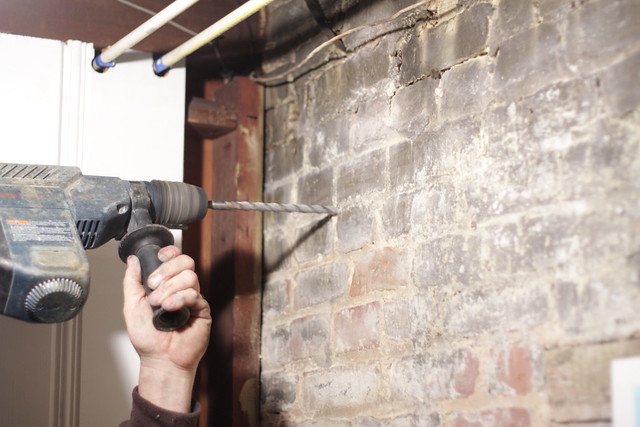
He positioned the hole high on the wall so that the vent would be easier to access for cleaning, both from the inside and outside of the house.
He cut plywood for a jig to hold the core drill in place while beginning the cut, and he angled the corer slightly upward, as it cut into the house, so that if water were ever to get into the vent, it would drain out of the house, not in.
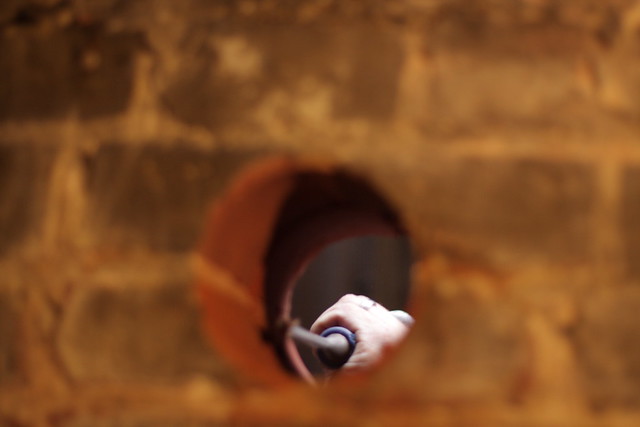
After Gerry started the cut, Kyle went inside to wet vac any slurry that might come through the wall. I ran inside to take pics.

Much nicer than taking a chunk out of our window space!
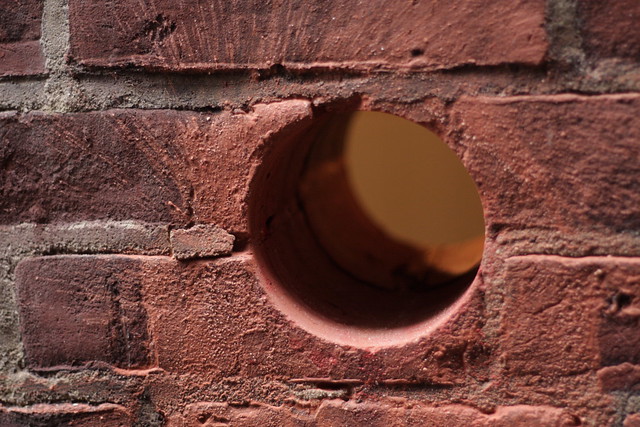 |
| Outside |
 | |
| Inside |
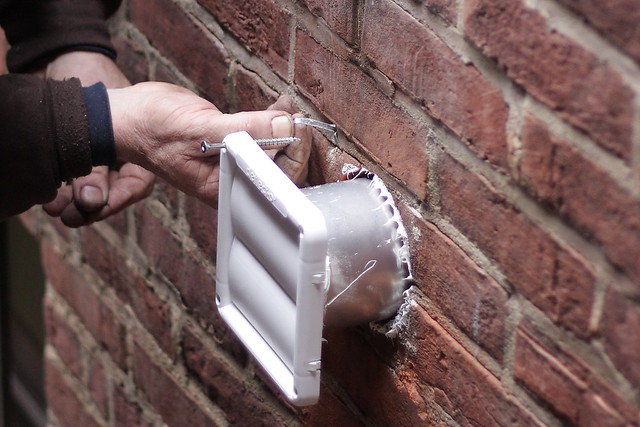
The vent and duct then got inserted, and the vent fastened to brick wall with screws and sealed with caulk. I mentioned before that the mortar in this wall is questionable, and though Gerry was able to cut a beautiful clean hole straight through, when fastening the vent to the brick, one of the screws met with a soft spot in the mortar.
And I got to learn a new trick! In order to get the screw to bite in a hole that was now a bit too large, Gerry inserted a couple strips of metal into the hole, much like you might with toothpicks into a hole in wood where a hinge has ripped out and you want to put the same screws back in the same place.
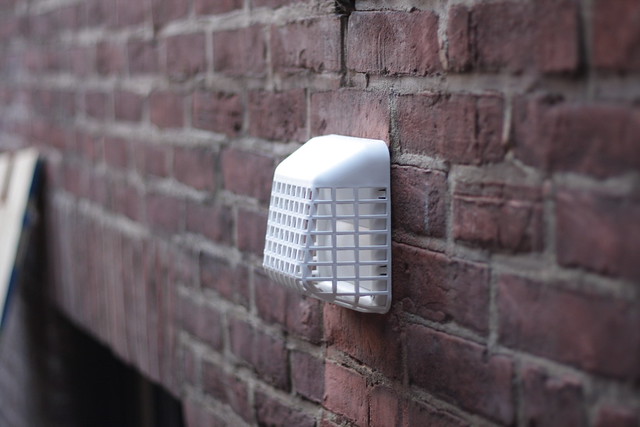
And voila! We now have a beautifully finished dryer vent, hockey masked to discourage vermin. A huge improvement.
Our budget for professionals is running out, so we probably won't be able to work with Gerry again until spring, when the weather is warmer and we'll have a whole new list of tasks that we'll need help and guidance with. For now, I'd better get back to work and on to the rest of the laundry room.
I liked ur blogs very much and image formant is very helpful. Exhaust Parts
ReplyDelete