Showing posts with label sealing the house. Show all posts

Monday, December 27, 2010

Basement Laundry, Part V: Dryer Exhaust

We've had a long Christmas break and done little to the house since Thursday. In that time we did get a lot of cooking and eating done, and unpacking of boxes (mostly kitchen related), and fixing of Kitchenaid, and talking with relatives far away.

We had planned to be with family in North Carolina today, but snow prevented our travel, so, here in Baltimore, I very slowly returned to working on the house.

I miss our contractor. His name is Gerry and he has an assistant named Kyle. Almost every day, for the two weeks before Christmas, they were at our house burning through To Do lists with work in nearly every room.

One of those rooms was the laundry room, and the item on the To Do list was Cut Hole in Brick Wall for Dryer Vent.
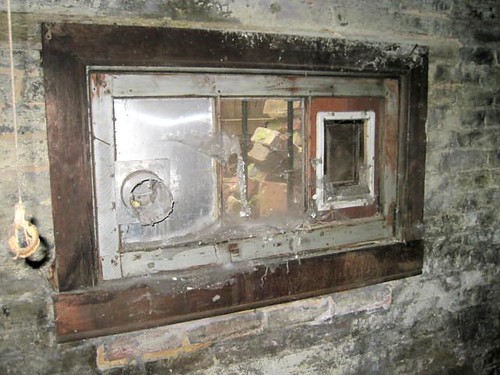

Behold the window in the laundry room as it looked when T&H first bought the house. In addition to being a pleasant home for many a spider, the window features a lovely stray cat entrance to the right and a convenient dryer vent to the left.

Had it not been for Gerry, the whole idea of re-routing our dry vent would have completely flown under our radar. With the thousands of individual tasks that need to be completed in this house, coupled with the fact that none of us have ever owned a house or a dryer before, I'm sure that our solution to this little problem would have been to install a newer, shinier, water-tight, cat-door-less version of the system shown above.

But when I was talking with Gerry a few months ago, and we were going over some of the plans for the rehabilitation of the house, he was listing out all of the tasks for the laundry room: ripping out shower, removing panelling, adding water lines, reinstalling panelling, cleaning brick, hanging sink, moving electrical, installing new window, cutting hole in the brick for a proper dryer vent....

It just rolled off the list like it was the obvious and easy thing to do.

And to anyone out there who is going, "Well, duh," but who also hasn't actually rented and wielded a hand-held diamond core drill with a 4" bit and cut through 8 inches of questionably mortared structural brick wall... well, I guess you're still right, but you gotta see this thing in action:
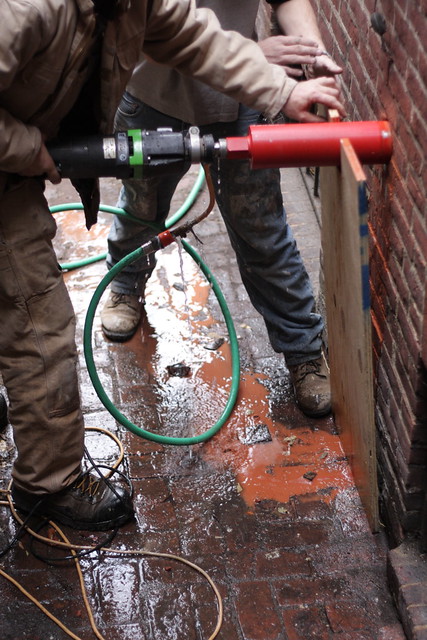

I am really glad that Gerry and Kyle were here to do this. For them, it was simple and obvious, and it was something that they already knew how to do. I think that if we ever need another hole cut in our wall, I would not be terrified to do it myself, but only because I have had the opportunity to watch and learn from these professionals.

It was so cool! And so quick, easy, and clean!

First, Gerry drilled a small hole through the wall from the inside, to mark the coring location on the outside of the wall.
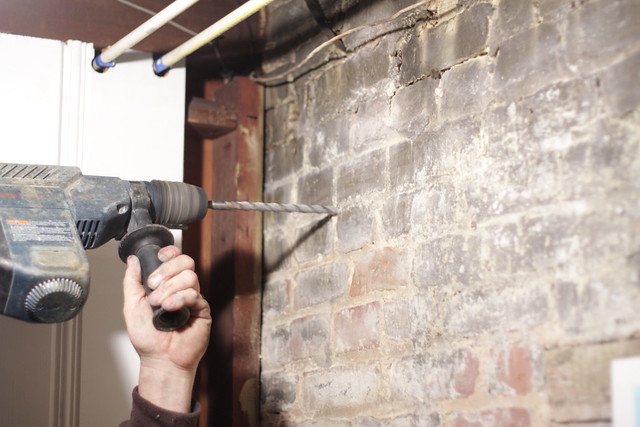

He positioned the hole high on the wall so that the vent would be easier to access for cleaning, both from the inside and outside of the house.

He cut plywood for a jig to hold the core drill in place while beginning the cut, and he angled the corer slightly upward, as it cut into the house, so that if water were ever to get into the vent, it would drain out of the house, not in.

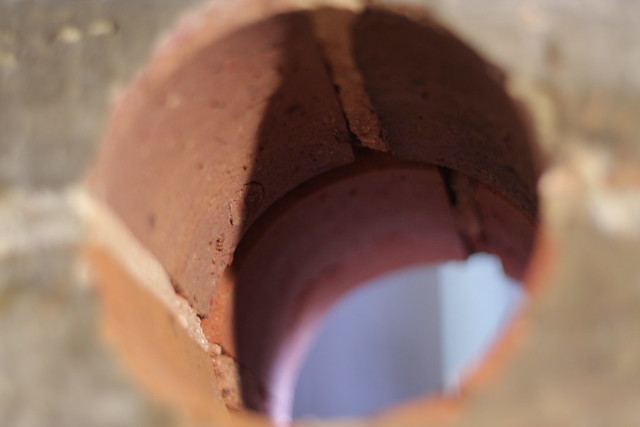
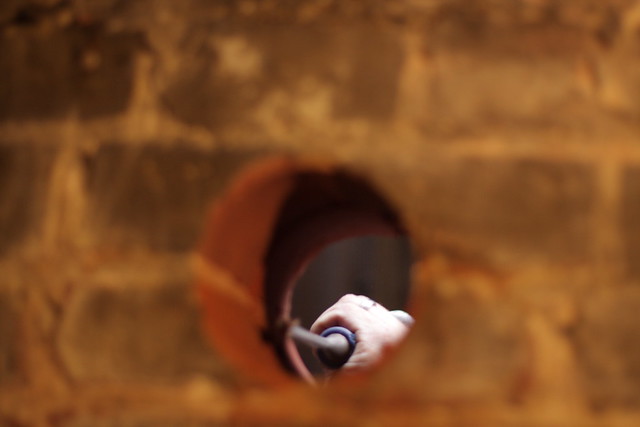
After Gerry started the cut, Kyle went inside to wet vac any slurry that might come through the wall. I ran inside to take pics.


Much nicer than taking a chunk out of our window space!
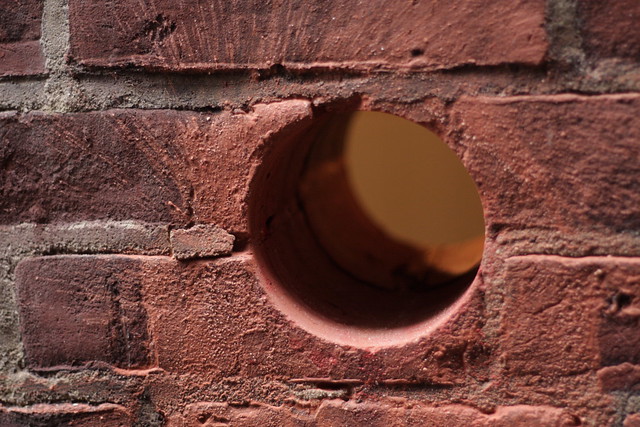
Outside
Inside
All that was left to do was the installation of the vent itself. The duct is 4" in diameter, like this hole, but the connection between the duct and the vent face is a little wider, so Kyle chiseled the edge of the hole to accomodate.


The vent and duct then got inserted, and the vent fastened to brick wall with screws and sealed with caulk. I mentioned before that the mortar in this wall is questionable, and though Gerry was able to cut a beautiful clean hole straight through, when fastening the vent to the brick, one of the screws met with a soft spot in the mortar.

And I got to learn a new trick! In order to get the screw to bite in a hole that was now a bit too large, Gerry inserted a couple strips of metal into the hole, much like you might with toothpicks into a hole in wood where a hinge has ripped out and you want to put the same screws back in the same place.
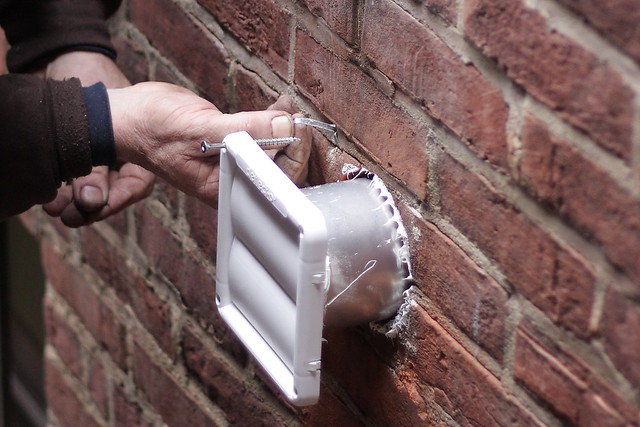

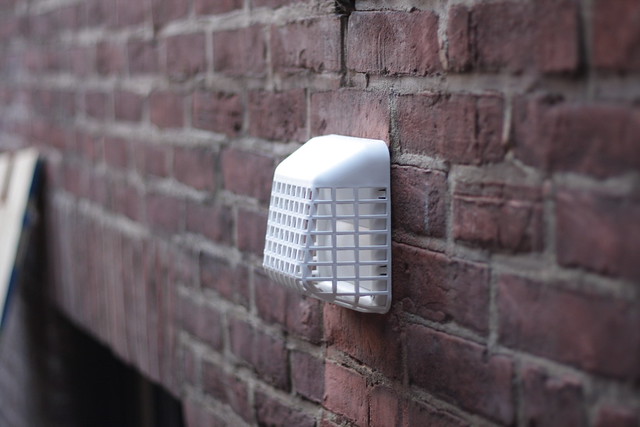
And voila! We now have a beautifully finished dryer vent, hockey masked to discourage vermin. A huge improvement.

Our budget for professionals is running out, so we probably won't be able to work with Gerry again until spring, when the weather is warmer and we'll have a whole new list of tasks that we'll need help and guidance with. For now, I'd better get back to work and on to the rest of the laundry room.

Wednesday, December 22, 2010

The Replacements: Kitchen Windows

I have come down with a terrible cold. You know, the kind where your head and chest are just kind of full of pressure and pain, and the world is really cold, fuzzy, and tilted. I began this post yesterday, and woke up this morning, laptop atop lap, with a fittingly sickly blue glow shining across me. I've become very skilled at falling asleep at my computer.

Anyway, back to the healing of the house:

Our kitchen windows were a mess. We knew one was fixed in place and the other had one of the sashes painted shut. We also knew that the whole wall's interior face was crumbling, water-damaged plaster.


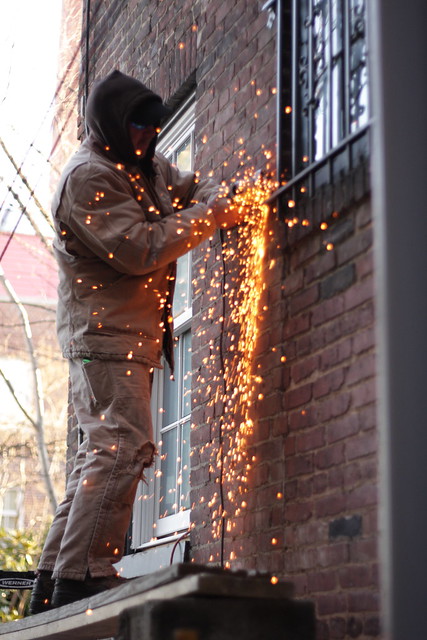
Pictured above is the over-the-sink kitchen window. To remove the existing sash, our contractor had to take an angle grinder to the iron work.


I don't have any photographs of the actual sash removal because I was actively helping at that time, but let me tell ya, it was something. The whole thing fell apart. Our contractor grabbed one of the wooden windowpane dividers, pulled, and it came off in his hand. So he dismantled the sash piece by piece and pane by pane.

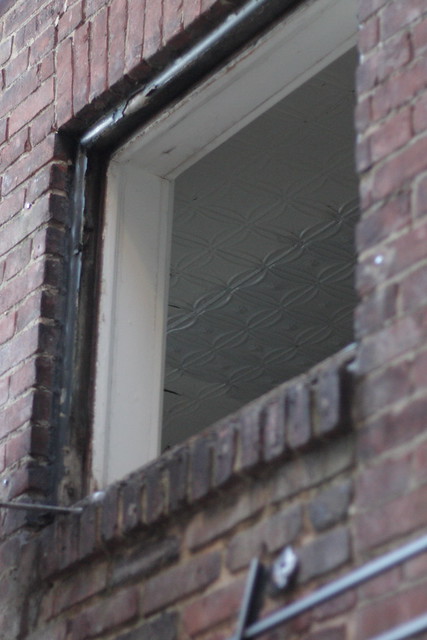
This particular window was once a door, but somewhere along the line, most likely when the kitchen was moved out of the basement and into this room, they bricked up the opening to about two thirds the way up, put a brick sill on top of that, and installed a window.

Before going into what parts were rotting where, I think it's time to post a borrowed drawing labeling the parts of a double hung window. This drawing does not exactly match our windows, but for the intent and purpose of talking about the rotting parts, I reckon it's good enough.


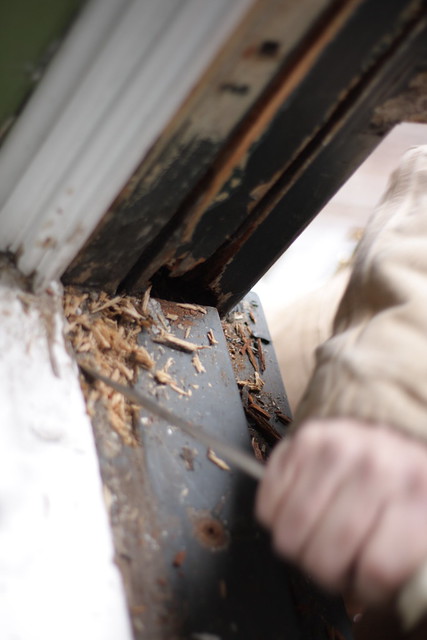
In the window above the kitchen sink, the wooden sill had completely rotted, so our contractor removed the sill and replaced it with new, treated wood. The interior sill, or stool, was warped but not at all rotted.

Below the new window, the new wood sill.
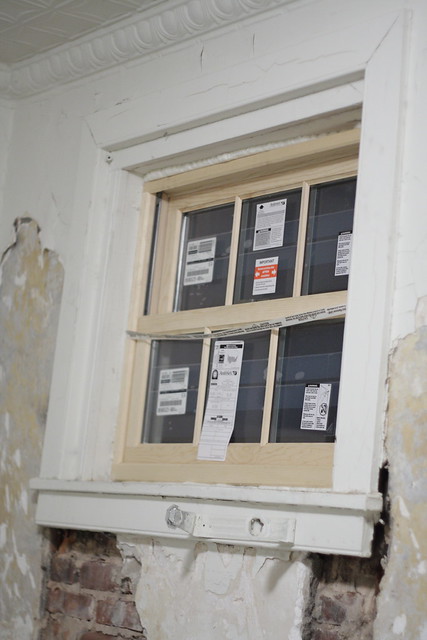
Once the sill was replaced, the new window could go in.


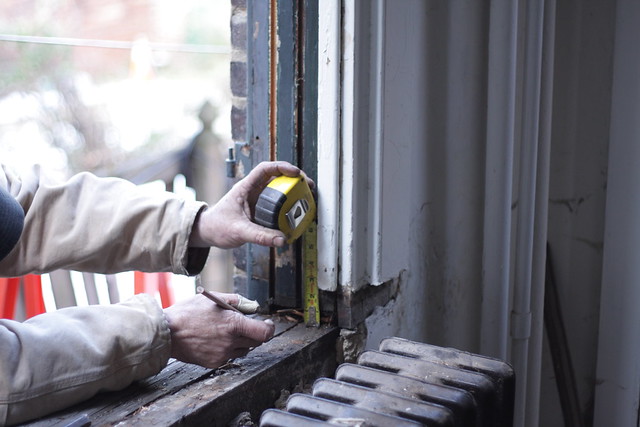
The other window in the kitchen had a healthy,wooden sub-sill, but the sill and stool had completely rotted, and the bottom framing member of the window was just kinda sittin' there on the brick, not attached to the sides of the window frames.


Sill and stool removed, measuring to replace sill.
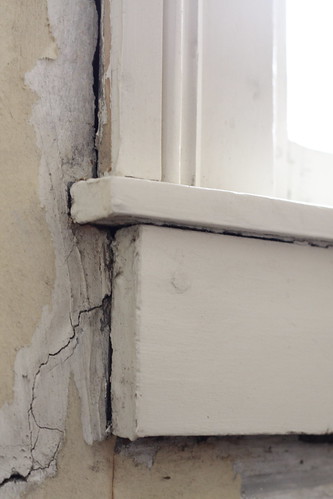
You may be able to notice in the above picture that the plaster on this wall has been water damaged to the point of completely crumbling off the bottom window framing member.

The general plan for this room, given all the water damage, is to expose the brick, repair it, and then water seal it and leave it exposed.

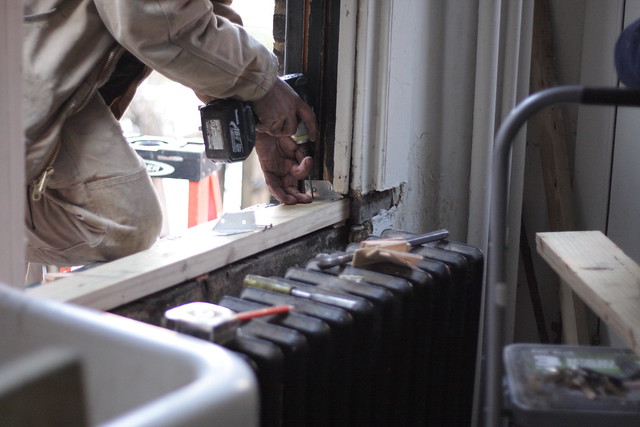
For now, our contractor has replaced the sill, and in doing so, connected the side and bottom window framing members.


There is still some interior trim work to be done, but we now have all of the windows, except the Gnome Room windows, installed.


We have decided to hold off the Gnome Room windows until spring. Their entire frames are loose inside the brick, and they may need to have their frames completely rebuilt, and if that is the case, we'd rather the weather be warm for it.


Tuesday, December 21, 2010

The Replacements: Days Two, Three and Four

So much has happened in the last three business days!

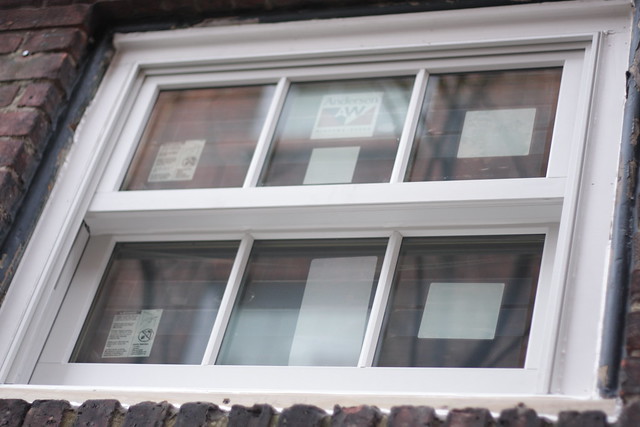
Our contractor has installed 12 of the 16 windows that we ordered from Andersen.


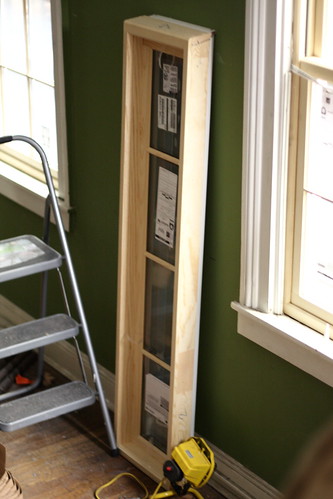
All of the windows replaced since my last window post were double hung windows. Most of them are still double hung windows. The exceptions are those narrow windows in the second step back of the north wall. Those windows are now picture windows (that is, they do not open). Andersen does not make 14" wide double hung windows. In fact, a local company, Walbrook Mill and Lumber, was the only manufacturer we could find who would make a double hung window that narrow. Unfortunately, their quote didn't fit our budget. So we went with Andersen, and hope that these little pictures won't negatively affect our excellent cross ventilation too much.


Installation has been a rocky road these last three days. Thursday it snowed, but our contractor still managed to install three, second-floor windows before the weather completely shut down his operation.


Those three windows were fast going, under two hours of work each, and at that pace, barring further acts of gods, this chapter in our story would have been finished at the time of my writing this post.

But paces change and gods act and, as mentioned before, we have yet to install all that we have to install.

Water is mostly to blame, and neglect, a recurring theme. It's like water and neglect got hitched and went on a decades-long crime spree through this house.


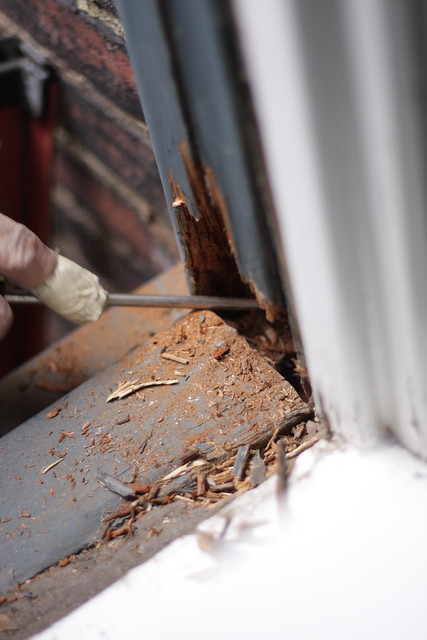
Sometimes they brought in extra muscle, like that psycho weed tree growing out of a second floor window, busting through the sill and taking out whole courses of brick.


That first picture shows the view of a tree growing out of an exterior window sill, as viewed from inside the house. In the next picture, the tree, sub-sill, and first course of brick, have been romoved. Let's zoom in.


Do you see the tree root poking its head up, right in the corner of where brick once was? That root, at that spot is a half inch in diameter. Terrifying.

I ran downstairs and grabbed the herbicide to douse the root while the cut was fresh, and our contractor rebuilt a temporary sill to protect the house and install the window. In the spring, when the weather warms to mortar setting temperatures, we will revisit this spot.

Oh, and that white stuff on the revealed window frame is mold. Another of water and neglect's co-conspirators.

And so window frames were mended, as their problems were discovered, and window installation continued at a slower pace.


Tomorrow, I'll write all about the kitchen and gnome room windows. They got hit the worst and will require the most repair.

Friday, December 17, 2010

Basement Laundry, Part IV: Transitions

A week ago I wrote about cleaning the basement floor in preparation for paint.

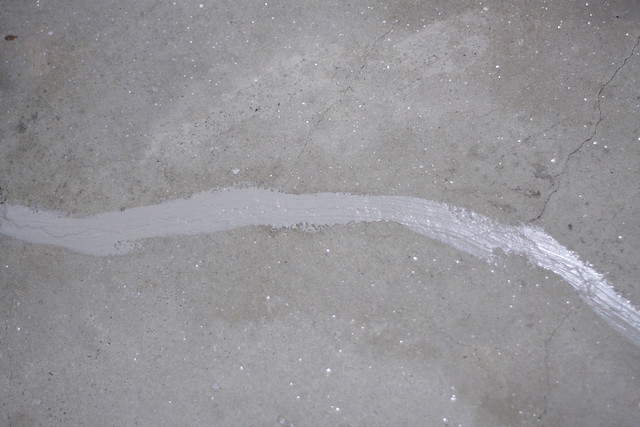
In the days following that purge, I put space heaters inside and outside of the laundry room, to dry the floor and bring it up to temperature. I also caulked all the larger cracks in the floor with a cementitious masonry caulk.


Let me tell you something, masonry caulk is not easy to get out of the tube. That stuff is thick. Or maybe I was doing something wrong, but it sure gave my grip muscles a work out. Or, as I like to call them, my ice cream scooping muscles.

By the way, when looking at that picture, do you see what I see? Because I see sparkles!

After the caulking was down, I waited. After three days, the floor was still damp at the edges and the caulk was still tacky. Hyeseung and I took our shoes off to enter the room, and we worked on painting the walls, the porous, dark, wood walls.

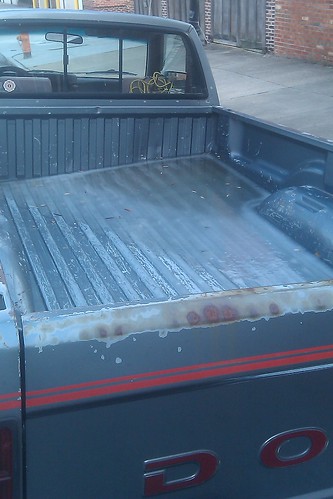
Then, on Sunday it rained. It rained enough to fill the corner of the bed of my truck. See, I wasn't thinking and I parked it on a downhill, and when it started raining, I didn't remember to move it to an uphill so the bed would drain.

Taken Tuesday. By then it had frozen solid.


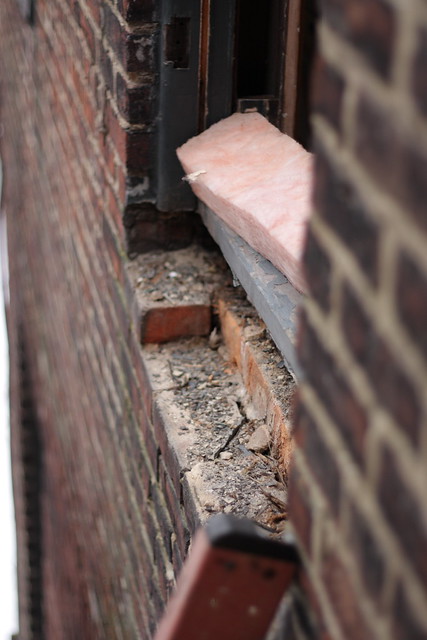
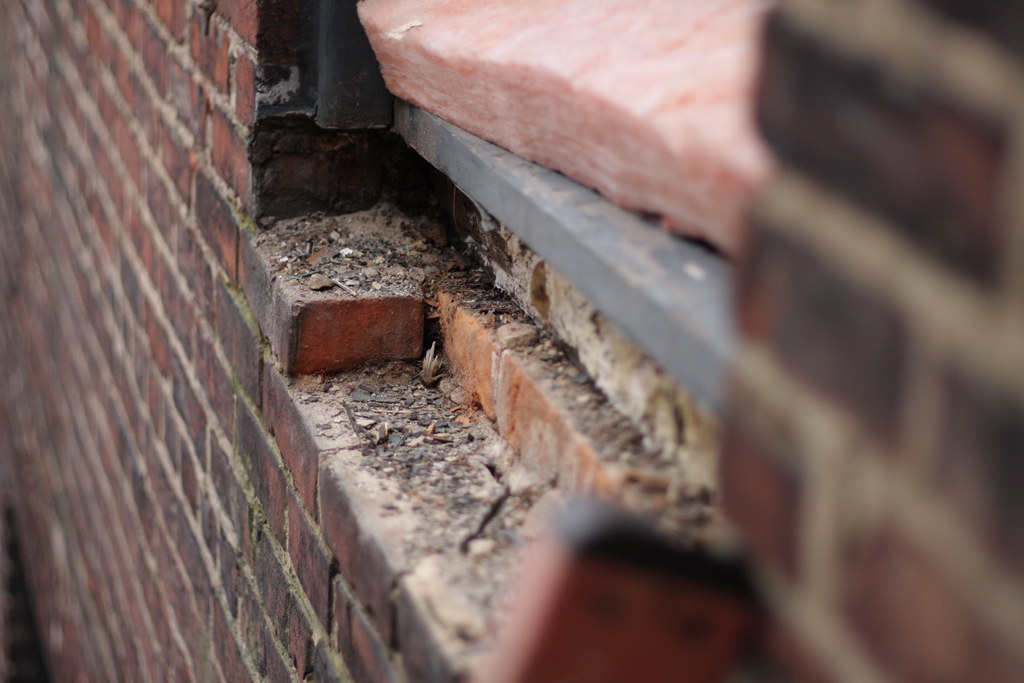
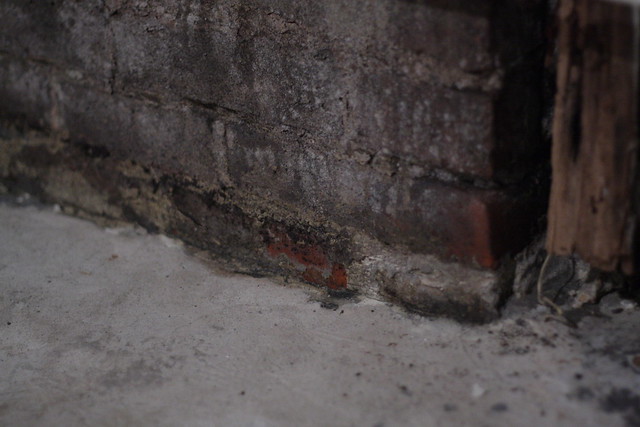
I mentioned, in the post about the basement shower, that the brick walls in the laundry room are water damaged. They still are; and we haven't fixed the root problem yet. We have a whole plan for digging them out and fixing the water problem. But we can't do that until spring.

In terms of painting the basement floor, that means the transition from brick wall to concrete floor won't be dry until Spring.

This is about the driest it gets.
With our contractor and his assistant here working on the windows this week, I asked his opinion on painting the floor. He has advised us to simply not paint it until we have taken care of the water problem, and I think that's what we're going to do.

It's still great that we cleaned the floor, and we'll clean it again in the Spring when we tackle the wall.

Until then we'll focus on running the electrical (to do), painting the walls (mostly done), installing the window (done), and getting those laundry machines up and running.

Thursday, December 16, 2010

The Replacements, Day 1

A window is an imperfect energy valve. We want 'sunshine' to brighten the interior, but we don't want UV to fade the drapes. We want 'solar heat' to warm us on cold winter days, but we don't want heat to leak back out at night. And on a hot day, we want to keep out the same radiation we welcomed on the cold winter day.
Charlie Wing, How Your House Works
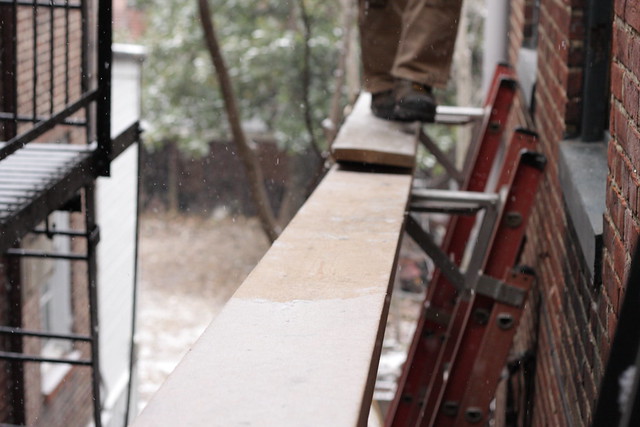
So, naturally, we chose the coldest day so far this year to begin replacing our windows. Our contractor arrived early in the morning and set to work assembling the ladders and walkboards he and his assistant would need, and by the end of the day, our house's idiosyncratic learning curve had leveled out, and we had two of sixteen windows replaced.


The rooms with the new windows are already considerably warmer. Old-style double hung windows have many zones of energy transmission; fault does not fall squarely on the single-paned glass or its glazing. The other main culprits include both obvious and hidden zones. In the obvious category, we have the edges around each sash. (In a double-hung window, the term "sash" refers the part of window that moves up and down. Double-hung windows have two sashes (though some people in the millwork industry have told me that they would say a window has "two sash", not "sashes") that move independently of one another.)

Old sashes, removed from window frame

As most people with these style of windows know, when you put your hand up against the edge of a rickety old sash in a no-longer-square window, there's a good chance you'll feel wind blowing through.

In the not-so-obvious category falls the outside edge of the entire window frame. Though, in parts of our house, it's kind of obvious:


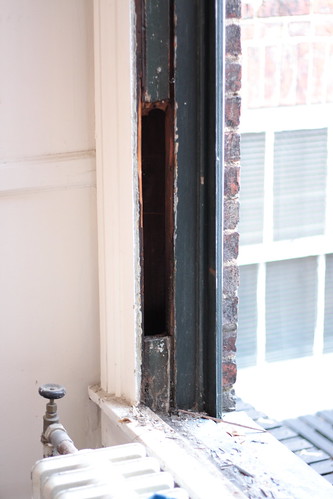
The truly hidden zone for energy transmission in these old windows, which I learned about yesterday, is inside the frame itself, where the weights hang.

I never knew how old windows worked, but I also never pondered the puzzle. I guess I just took them for granted, much like Sarah in Labyrinth took her conceptual understanding of the physical world for granted.


And much like that Sarah and the brick wall, once I looked past the window frame surface, I discovered a whole world of wonderment. Okay, maybe not a whole world of wonderment, but certainly some rusty old weights attached to a simple and neat pulley system.


One pulley for each sash is inset in the window frame on either side of the window. In a working window, unlike the one picured above, there would be rope or chain going through these to connect each sash to a weight inside the frame. When you move the sash up and then let go, it doesn't drop because the weights are chosen such that they balance the weight of the sash.

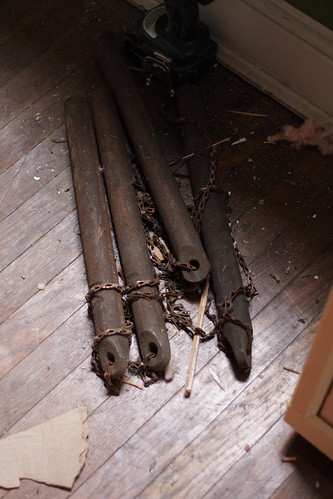
Counter-weights, two for each sash
There is a secret passageway that leads to the weights. After our contractor removed the sashes from the first double hung window to be replaced yesterday, a little wooden door was revealed on each side of the frame. After removing this door, you can reach in and remove the weights.


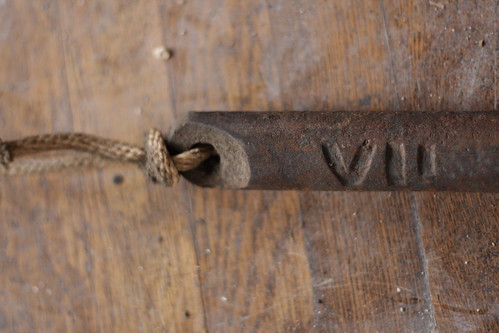
How much does each weigh? Well, about half that of the sash, of course! Also, in the windows in our house, we've found that the weight of each weight is stamped onto the side in roman numerals:

I wonder if that is 7 or some clever way of writing 6.5
The first time I ever saw one of these weights was when I found three of them stored inside a wall in the basement. I was all, "What the jeeminy?! Have I discovered parts to some kind of horrible medieval device?" But now I know the truth. And I reckon it's just as interesting.

So, this part of the window where the weights hang is a fairly large cavity, enclosed by fairly thin wood, transmitting heat in and out of the house fairly well.

Of course, in addition to those three zones, our windows also had broken panes and rotting wood sashes.

The two windows that our contractor replaced yesterday were on the third floor. One in the kitchenette, and one in the front bathroom.


When I say we replaced the windows, what I really mean is that we bought "replacement" full window units that are designed to be installed inside your existing window frame. All you need to do is pop the old sashes out, put insulation in the window weight pocket, and put the new window in, and voila!

Third floor front bathroom window before and after

After all this talk of weights and pulleys, the other window, the one in the kitchenette, is a casement. The orginal window was a double casement, that is it was like a set of miniature french doors. We replaced it with a single casement, hinged on the right and opening out. It is the only window like it that we are replacing. The other windows in the back third floor are double casements, but instead of replacing them, we plan to take them off their hinges, sand them down, and repaint them, good as new!

Here are the kitchenette window before and afters:


The two rooms with the new windows are already warmer.

For those who might, please do not worry that these old windows will in any way drive up our blog's landfill ticker. We intend to reuse the materials, so stay tuned!


Thanks for reading; I leave you with a kitchenette window installation action shot:

Thursday, December 9, 2010

The Windows Have Arrived

And they're filling the living room!

To catch you up to speed, our house has:
25 single-pane, wood-frame, double hung windows (that's the kind that slide up and down)
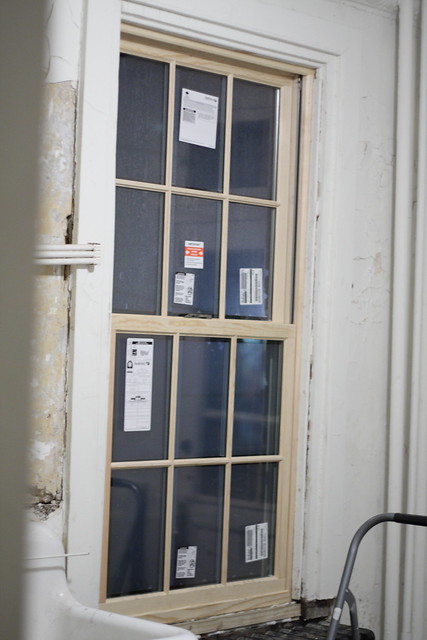
6 single-pane, wood-frame, double casement windows (basically like mini french doors that open out)
4 single-pane, wood, fixed basement windows

3 single-pane, wood, transom windows (windows over doors)

1 single-pane, wood, fixed window over the sink in the kitchen

1 double-pane, vinyl-frame, awning window (hinges at the top and opens out like an awning)
Most of the double hung wood windows appear to be original, though I wouldn't be surprised if some of the sashes had been replaced here or there. Unfortunately, the seasons and their weather have not been kind to our windows, and their protective coatings of (most likely lead-based) paint, unmaintained in the last decade, have cracked and peeled and made way for water and rot.


We couldn't afford to replace all of these windows, so we picked the most rotten among them and ordered brand-new, double-pane, wood replacement windows, with exterior vinyl cladding.

Windows cost a lot of money. Especially when your house has 40 of them. We decided to replace 18.

I am not skilled enough a blogger to fully describe and capture, in this little post, the amount of time and thought and hems and haws that went into the purchasing of these windows. Measurements were taken; drawings were made; quotes were requested; measurements were re-taken; quotes were adjusted; window styles changed, sometimes depending on vendor; quotes were adjusted. We researched and drove to warehouses and vendors and waited for sales to kick in. And what about the color!? The hardware, sill angle, division of light?!

Suffice to say, we put a lot of time into the decisions that led to this glorious delivery.

So, who wants to come help us install 'em?