Friday, January 14, 2011

Heat and Hot Water

When T&H bought this house, it immediately presented with countless, murky decisions to be made. We only had a vague notion that the house needed a lot of work, but what were the most dire problems? Everywhere you look you can find fundamental problems of varying destructive power, but that's just on the surface. What are the best diagnostic tests for assessing the fitness of a house and it's mechanics?

To help us learn to look at this house and see beyond peeling paint and warped floorboards, to understand the language of the creaks and cracks and hisses and stains, we began a flurry of consulting with professionals, amateurs, neighbors, colleagues, friends, and family far and near.

In this early period, during the first two weeks of home ownership, T&H weren't even certain, yet, if they wanted to do any of the rehabilitation work themselves or hire it out completely. With every visit of a potential contractor, our knowledge and understanding increased. Neighbors shed light on the shared idiosyncrasies of our houses and utility systems. Information gathered was tested against the intuition of our fathers and aunts and uncles.

The time to make some fundamental decisions was quickly approaching, but our confidence in our understanding of What Needs To Be Done was still shaky. And so it came to be that we engaged the services of a very kind, encouraging, and helpful home inspector named Keith.

We had received proposals of sorts from contractors saying they would test the plumbing and patch any small areas that need patching or leaks that needed sealing. Keith showed us all of the reasons why none of the plumbing could be saved.

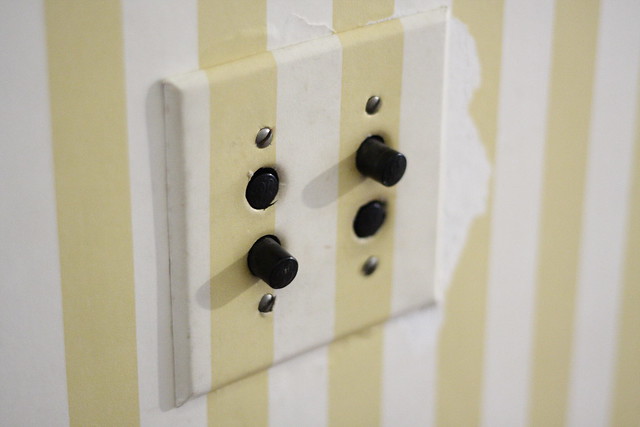
On the electrical side of things, we waded in worries, inspired by neighbors relating stories of knob and tube wiring, but Keith tested and confirmed that even the electrical to our weirdest switches passed code.

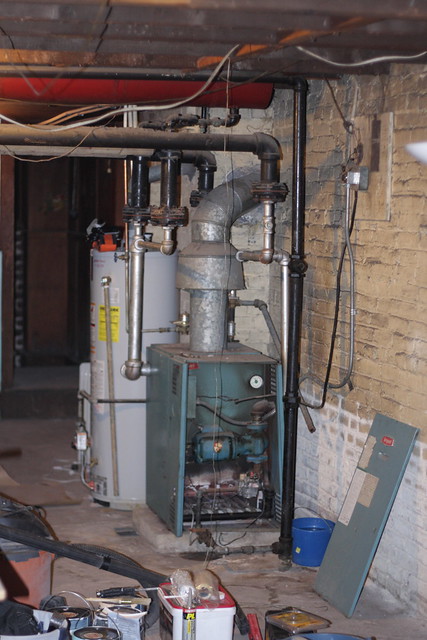
One of the most exciting parts of the home inspection occured when we turned on the heating system. This system was a huge unknown in our world of cost estimating. The system is driven by a forced hot water boiler, of the cast iron variety, 39 years old. The boiler is located in the basement and is connected to cast iron radiators on upper floors, and to one baseboard-style heating loop on the second floor.  From contractors we had heard numbers in every ballpark, but always the same tagline: "We won't know for sure how much it'll cost until we get in there and start working." But Keith turned that boiler on and nothing exploded! No radiators leaked! Everything got hot!

We learned much from Keith, but the major positive take away from that day was: At least the boiler's ok! Let's not mess with the heating system at all.

Well, we're going to mess with it.

We spoke to a few plumbers a couple months ago, and the majority of them shied away from working on these old heating systems. Scary strings of words like, "could be a couple hundred, could be two grand, or... (trails off, eyes look to the distance)," and, "every union you crack is an opportunity for disaster," and, "but generally I dislike working with heating pipes," and, "I wouldn't touch the system, myself," had us trepidatious for a while. But subsequently we've spoken with plumbers who like working with heating pipes, and we've read up on others' experiences, and we continue to seek advice. I'm raring to have a crack at these radiators now.

Currently, we are working on finishing all of the bathrooms. Two of the bathrooms I'm working on have heating fixtures that need messing with. Here is a very schematic drawing of those heating fixtures as they relate to eachother and the boiler:
pink zones = bathroom tile zones
blue lines = galvanized or brass pipe
 orange lines = copper pipe
everything else not shown for clarity
(click to enlarge)


Each bathroom's heating fixture has unique needs and challenges. Let's start with the third floor. Here's a close-up:

front view
back view
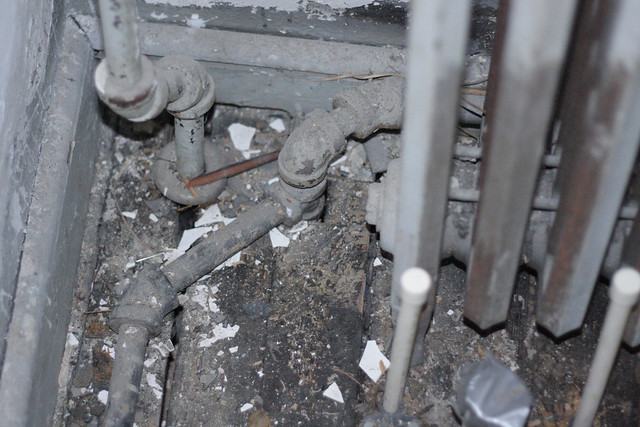
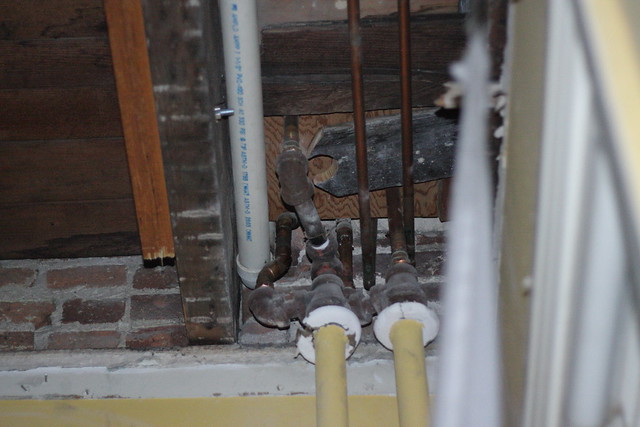
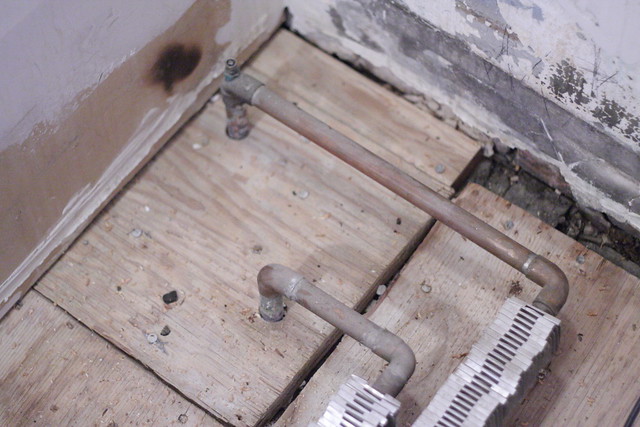
So, we're looking at a couple of things here. One, we want to remove the radiator temporarily while we repair the floor and walls. Two, there is a pipe running from the radiator's return pipe, all along the floor of the bathroom. That pipe then goes into the bathroom wall, up the wall, and pokes its head out into an adjacent closet, where it is capped off. Our theory is that the closet once contained an expansion tank for the system. When the tank became obsolete and was removed, they just left the pipe in place and capped it off. (Any other theories?) We would like to remove this pipe completely.

Here is a photo collage of the heating fixture in the bathroom:
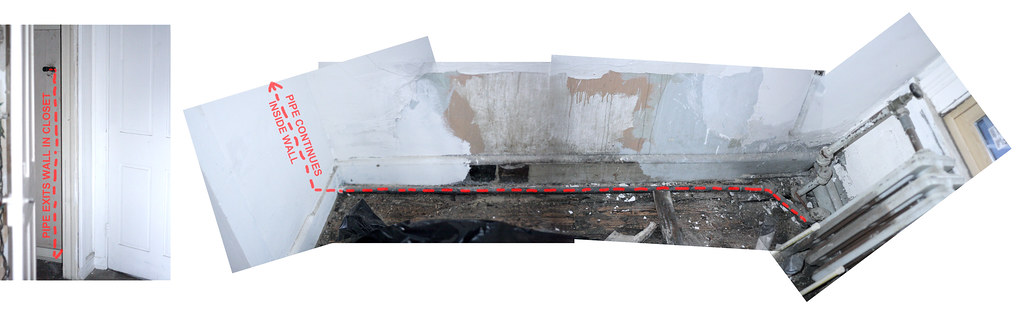
don't forget to click to enlarge!
One of the tricky things about this pipe is where it connects to the system. It branches off a T union that is partially embedded in the floor. Check it:


On the second floor, the "radiator" is a a baseboard heating system that was hidden underneath a long vanity.


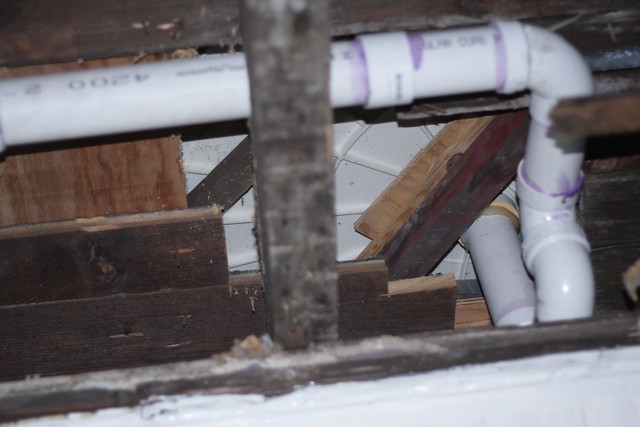
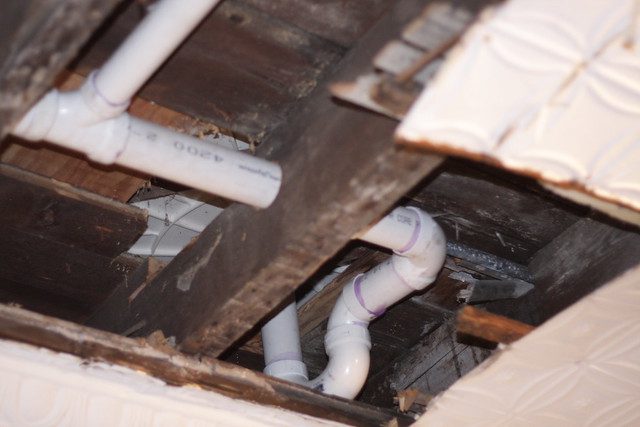
A closer look at the connections below the floor:

from above
from below
We would like to remove this fixture and replace it with a small, cast iron radiator.

We know that we must drain the system below the elevation of the unions we will be opening. We know that the unions themselves are pretty straightforward.

What we don't know is this:
What's the best way to go about removing that pipe on the third floor?
Once everything has been removed, what's the best way to cap the pipes to be able to use the rest of the heating system while we finish the bathrooms? (Is that a bad idea in the first place?)
What are the tips and tricks to re-filling the system?
What would you do?

Tuesday, January 11, 2011

Hiccups

I spent the last week in bed with my second cold of the season. This second time around, or perhaps the rallying of the first, was much worse, and on the fifth day, this uninsured blogger dipped into her stash of expired antibiotics in the hopes that the dark phlegm forces were at least in part bacterial, and two days after that, energy, if not fully clear sinuses or lungs, returned.

I began work on the house again yesterday, hacking away at little jobs and putting together a more comprehensive plan for the completion of the bathrooms, which is our next project milestone. Having just bounced back from my own personal schedule setback, I worked to draw up a thorough and realistic plan and anticipate as many hiccups as possible. And everywhere I look, I see hiccups.

What does a hiccup look like? I'll show you...

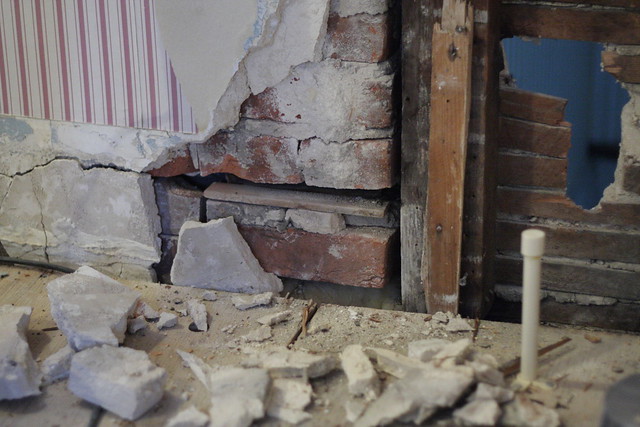
A hiccup looks like a hole in a structural wall, larger than you had previously assumed.


A hiccup looks like a dubiously supported shower pan.


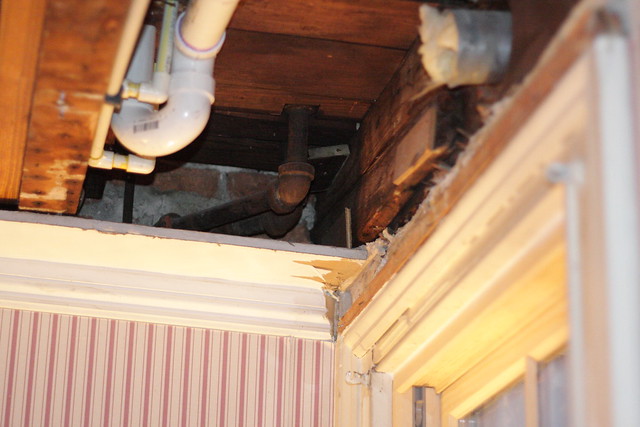
And a hiccup looks like hot water pipes and radiators that we finally have to deal with for real before getting more work done:


Maybe that last one is not so much a hiccup as an as yet avoided inevitable.

I'll write in more detail about each of these three problems and their particulars in soon to follow posts. What to do about the radiators is the first question.

Thanks again to everyone for reading. It's good to be back.

Sunday, January 2, 2011

Inaugural Load of Laundry

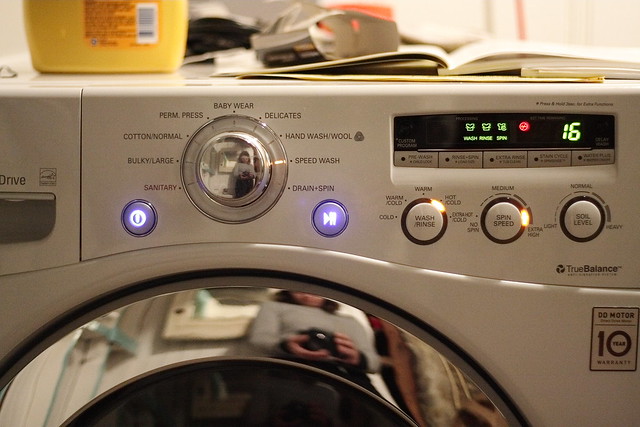
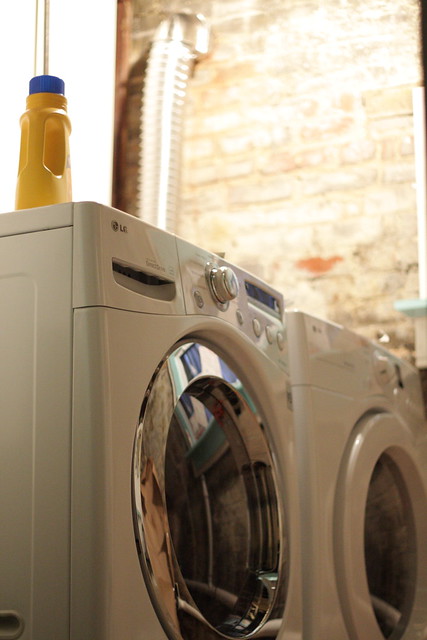
Four days ago, Hyeseung and I tested out the laundry machines, purchased many months ago, and their installation, completed five days ago. I took photographs and promptly drove off to New York to visit friends, celebrate the New Year, and retrieve a few power tools and furniture out storage.

Thank you to Toby for filling in at blog headquarters yesterday. Both T&H will be posting blog entries from time to time. So keep an eye out for that.

In additional blog news, we have received requests for more (or any) pictures of T&H. With this in mind, Hyeseung and I set about documenting the first load of laundry washed and dried in the new laundry room.


There is something so luxurious about doing laundry in the privacy of your own home. I know I haven't had this luxury in at least ten years. Even having laundry in one's building just isn't quite the same, though it is a step up from five stories down and six blocks away. Laundry in your own home! You can leave your clothes in the machines. You can warm up your jeans before changing into them on a cold winter morning. You don't have to wear clothes to wash clothes.

Admittedly, that last one doesn't apply here, since I'm living in the house with my brother and his wife, but the general idea still applies: the level of privacy and security you experience in your living room, you now also experience while doing your laundry.

There's no more wondering, "Did someone steal my t-shirt?" Conversely, there's no more blaming your own forgetfulness on innocent patrons of laundromats.


Plus, look at all all the shiny buttons and options! T&H bought HE (high efficiency) machines from LG, and they make the cutest sounds when you turn them on and make your selections.

Hyeseung and I set about taking lots of photos documenting this first load, but the actual activity of running the machines quickly absorbed our interest, and I forgot to shoot more pictures.

I hope that words are sufficient to express that the machines worked and worked well in a little room in our basement, far away from the laundromat; and we are grateful.

Saturday, January 1, 2011

Decking the Halls, Refinishing the Floors


Happy new year from the third house on the left. In this first post of 2011, we investigate refinishing the floors. Thanks to the bathroom demolition we have a number of spare extra hard wood floor slats. These are about 3/8" thick, 2" wide pieces of wood which form the top layer of our floor. We use one of these extra slats for our refinishing experiment.

The first step is to sand the wood to mechanically remove crud which has impregnated the top surface over the years. For aesthetic reasons one sands with the grain. A belt sander would be the right tool. For this experiment we simply manually sand. We attach a fine grit sand paper to a 2"x4" and sand until a virgin layer of wood is revealed. Another sanding with ultra-fine grit paper finishes the job. Behold the fruit of our labor:


The top piece is a random representative slat from our floor. The bottom specimen has been sanded. Looking good.

The next step is to try out a stain. The Mrs wants a dark stain, so we start with antique walnut. After making sure all the dust from the sanding is removed from the surface, we use a foam brush to paint half the sanded slat. We let this sit and dry overnight and then the next morning apply a second coat. In between each application of stain we lightly sand (with ultrafine paper or steel wool) the surface to smooth over any imperfections in the dry finish that might nucleate a concentration of stain in the next coat. Here is the result:


The stain was not as dark as expected, but that's probably because we're starting with a pretty light wood to begin with.

The final step is apply a protective coat. There are several options. Two popular coatings are wax and polyurethane, the latter providing a tougher finish. We choose the polyurethane. Two coatings of polyurethane (again with light sandings between coats) does the job. And we're done:


The polyurethane really brings out the grain in the unstained wood. The muddled look of the stained side is due to my poor photography: the appearance of the stained wood did not change much. The final finish is smooth to the touch and will prevent the splintering from floor boards to which we've grown accustomed at the third house from the left.

The Mrs wants an even darker finish... espresso maybe, so it's back to the drawing board!

Wednesday, December 29, 2010

Basement Laundry, Part VI: The Plan

Now that I've written a handful of posts detailing some of the parts of the Laundry Room, I figure it might be helpful to zoom out and take a look at the sum of all parts.

For those who haven't read the other posts, and as a reminder to those who have, our laundry room is in the basement of the house, just west of the back stair.


The drawing above is meant to show the as-built conditions of the basement, and it is generally accurate. But some things in the drawing are generalized. For instance, the area labeled "BOILER" is home to more than just a boiler, and the area marked "LAUNDRY" is actually only the location of the dryer.

So, let's zoom in on the laundry area for a more accurate view of how the space was programmed and where the utilties were located, when T&H first bought this house.


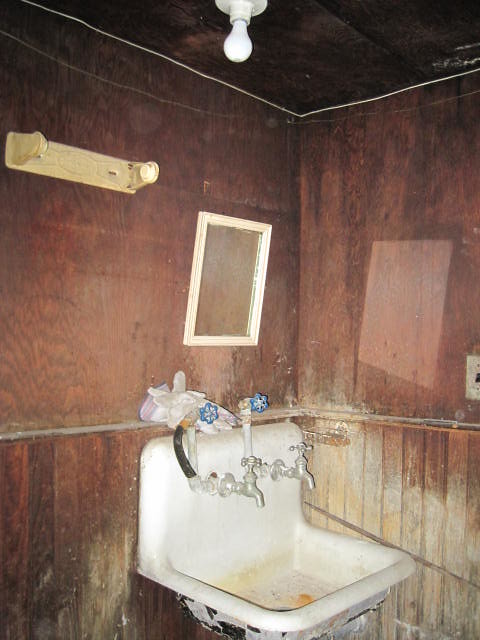
As you can hopefully make out from that lovely photoshopped drawing above, the washing machine was not even inside the laundry room. There is a sink next to the washer, and the washing machine water supply hookups were retrofitted to the sink fixture.

Check out the soap deposits on that wainscoting.
The plan for the new laundry room, in addition to just cleaning and scrubbing and slapping a few coats of paint on the place, is to demolish the shower, move the sink inside the room, move the dryer vent from the window to the wall, replace the window, repair the brick wall (a task with many, many sub-tasks), and install working laundry machines.


One thing to note, the washer and dryer squares in these drawings are purely graphical; they are not to scale. The washer and dryer that were in the house when T&H bought it were undersized and similar to what is drawn here. T&H bought full size machines, and they are a bit tight in the space.

The only tasks we have left in this room are to fix the brick wall, add some trim, finish painting, move the electrical, and install the sink. Even then, this will be a roughly finished room, no bells or whistles or smooth surfaces, so there will always be room for improvement. Like adding a door!


I wish I knew all of the people who have lived in this house. I suppose I could and should look up the public records someday, for curiosity's sake at the very least. But it would be nice to be able to talk to them and learn about the way this house was lived in and the way lives changed and how the house changed with them.

It is pretty evident that this room was not originally designated for laundry machines. But the waste connection for the sink and toilet (and once for the shower) are all encased in the basement's concrete floor. When did the basement get a concrete floor? When was the cast iron sewer line put in?

If the room was built as a bathroom, why the extra space to the west of the doorway? Just a place to change one's clothes? Was this once a tiny, unheated bedroom that was converted to a bathroom when the front waste stack was installed for the house?

My best guess right now is that this was originally built as a bathroom, and it was put in at the same time as the basement floor, some time in the first half of the twentieth century. (I know, I'm really pinpointing it there.) About a third of the nails used in the walls are old-style, unbending, iron nails and the other two-thirds are newer, but I don't know enough about nails to guess at a decade. Yet.

Of course these questions lead to larger questions of when were the different portions of this house built? Was it built in stages? Many people on our block talk about these homes and speculate when different portions of the houses were added on. Right now, I'm not convinced that any part of our house, any part that's still standing anyhow, was an addition. There are no interior brick walls that once marked the end of the house. There aren't, yet discovered, any traces of such walls, either. The foundation walls seem uniform, the symmetry to adjacent homes, intentional.

We will keep digging to find clues to the answers to these questions, and in the meantime, we'll be washing our clothes in the luxury of our own home.

(One of these days I'll get a wider angle lens. Or this baby.)

Monday, December 27, 2010

Basement Laundry, Part V: Dryer Exhaust

We've had a long Christmas break and done little to the house since Thursday. In that time we did get a lot of cooking and eating done, and unpacking of boxes (mostly kitchen related), and fixing of Kitchenaid, and talking with relatives far away.

We had planned to be with family in North Carolina today, but snow prevented our travel, so, here in Baltimore, I very slowly returned to working on the house.

I miss our contractor. His name is Gerry and he has an assistant named Kyle. Almost every day, for the two weeks before Christmas, they were at our house burning through To Do lists with work in nearly every room.

One of those rooms was the laundry room, and the item on the To Do list was Cut Hole in Brick Wall for Dryer Vent.


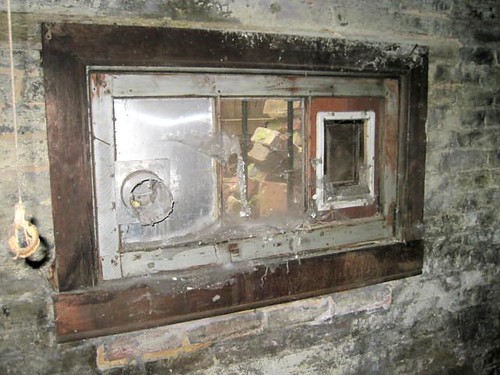
Behold the window in the laundry room as it looked when T&H first bought the house. In addition to being a pleasant home for many a spider, the window features a lovely stray cat entrance to the right and a convenient dryer vent to the left.

Had it not been for Gerry, the whole idea of re-routing our dry vent would have completely flown under our radar. With the thousands of individual tasks that need to be completed in this house, coupled with the fact that none of us have ever owned a house or a dryer before, I'm sure that our solution to this little problem would have been to install a newer, shinier, water-tight, cat-door-less version of the system shown above.

But when I was talking with Gerry a few months ago, and we were going over some of the plans for the rehabilitation of the house, he was listing out all of the tasks for the laundry room: ripping out shower, removing panelling, adding water lines, reinstalling panelling, cleaning brick, hanging sink, moving electrical, installing new window, cutting hole in the brick for a proper dryer vent....

It just rolled off the list like it was the obvious and easy thing to do.

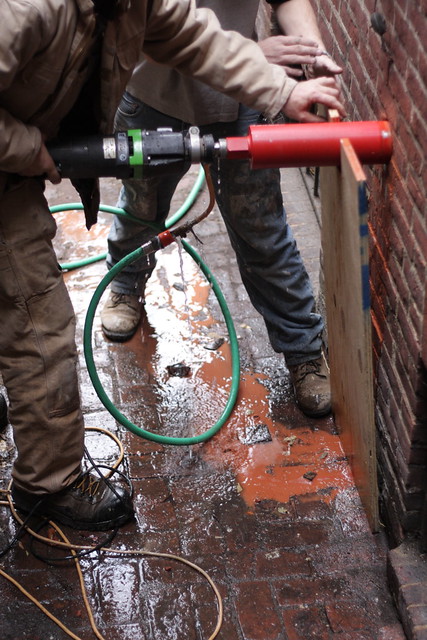
And to anyone out there who is going, "Well, duh," but who also hasn't actually rented and wielded a hand-held diamond core drill with a 4" bit and cut through 8 inches of questionably mortared structural brick wall... well, I guess you're still right, but you gotta see this thing in action:


I am really glad that Gerry and Kyle were here to do this. For them, it was simple and obvious, and it was something that they already knew how to do. I think that if we ever need another hole cut in our wall, I would not be terrified to do it myself, but only because I have had the opportunity to watch and learn from these professionals.

It was so cool! And so quick, easy, and clean!

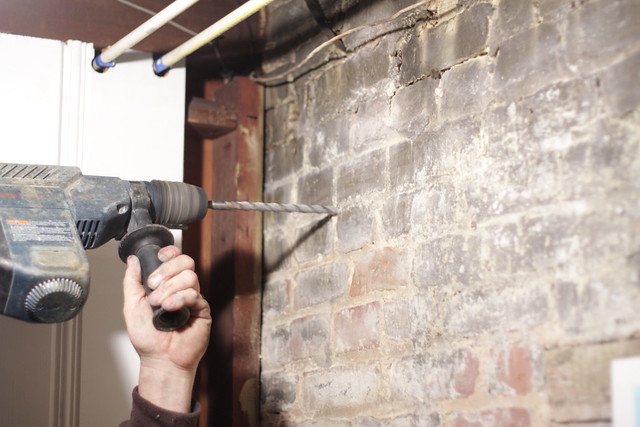
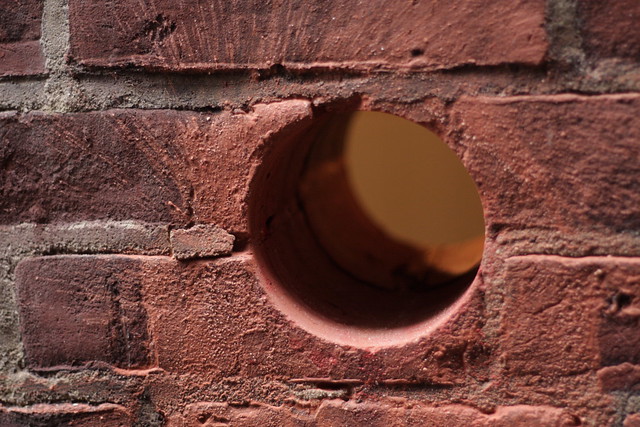
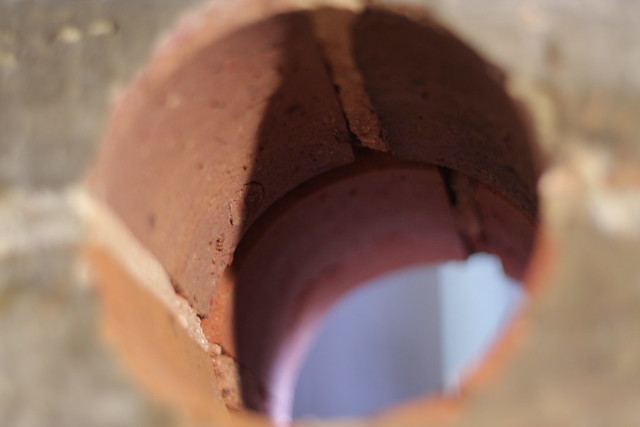
First, Gerry drilled a small hole through the wall from the inside, to mark the coring location on the outside of the wall.


He positioned the hole high on the wall so that the vent would be easier to access for cleaning, both from the inside and outside of the house.

He cut plywood for a jig to hold the core drill in place while beginning the cut, and he angled the corer slightly upward, as it cut into the house, so that if water were ever to get into the vent, it would drain out of the house, not in.

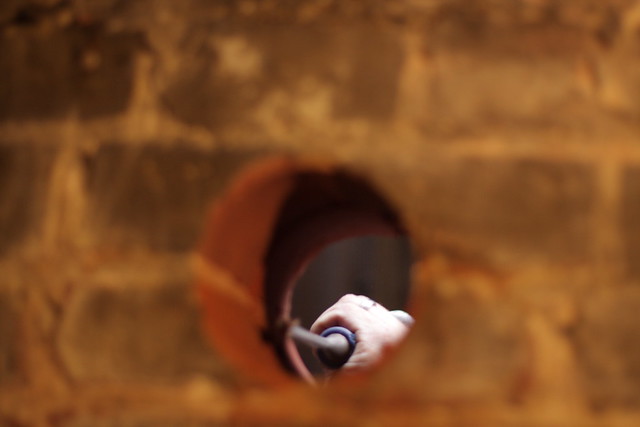
After Gerry started the cut, Kyle went inside to wet vac any slurry that might come through the wall. I ran inside to take pics.


Much nicer than taking a chunk out of our window space!

Outside
Inside
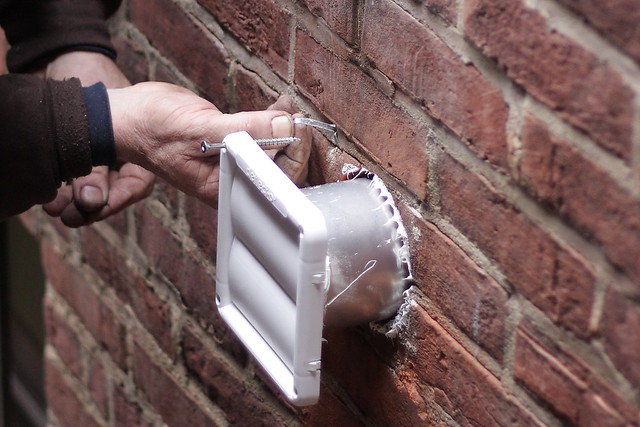
All that was left to do was the installation of the vent itself. The duct is 4" in diameter, like this hole, but the connection between the duct and the vent face is a little wider, so Kyle chiseled the edge of the hole to accomodate.


The vent and duct then got inserted, and the vent fastened to brick wall with screws and sealed with caulk. I mentioned before that the mortar in this wall is questionable, and though Gerry was able to cut a beautiful clean hole straight through, when fastening the vent to the brick, one of the screws met with a soft spot in the mortar.

And I got to learn a new trick! In order to get the screw to bite in a hole that was now a bit too large, Gerry inserted a couple strips of metal into the hole, much like you might with toothpicks into a hole in wood where a hinge has ripped out and you want to put the same screws back in the same place.


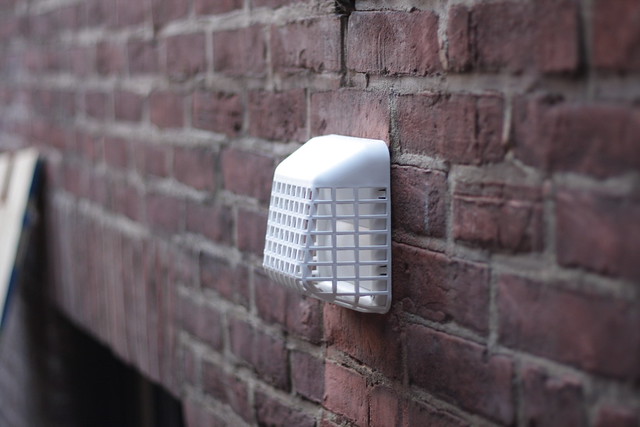
And voila! We now have a beautifully finished dryer vent, hockey masked to discourage vermin. A huge improvement.


Our budget for professionals is running out, so we probably won't be able to work with Gerry again until spring, when the weather is warmer and we'll have a whole new list of tasks that we'll need help and guidance with. For now, I'd better get back to work and on to the rest of the laundry room.